Adding or Editing a Reporting Hierarchy
To get to Reporting Hierarchy, go to Meevo > Business Information > Reporting Hierarchy.
To add a Reporting Hierarchy
- From the Reporting Hierarchy search form, select Add New.
- Enter a Display Name and Description for the Reporting Hierarchy. Make sure you use a name that makes this hierarchy easy to identify in lists or menus.
- Business Type: This Business Type, if you've set them up, determines which locations are available in the Set Locations tab. It also determines which Reporting Hierarchies will be available when you select a Business Type in a report's setup screen.
- Select Save.
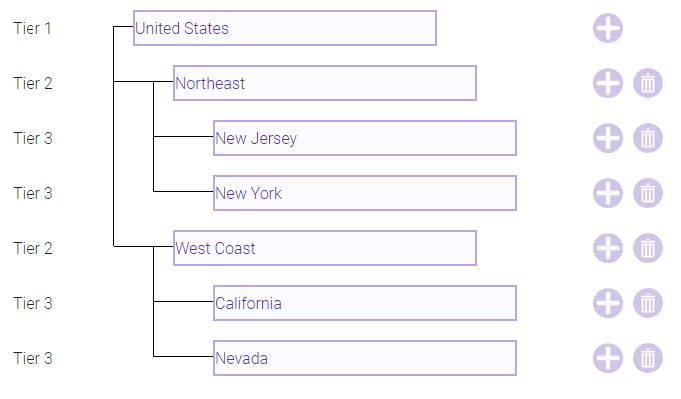
- Select the Design Hierarchy tab and select Edit. This form is where you set up your hierarchy and tier labels. As an example, we will set up a Reporting Hierarchy for several locations in the United States.
- Selecting add to the right of a tier creates a sub-tier.

- You can only assign locations to the lowest tiers in a hierarchy.
- Enter a name for Tier 1. For this example, we entered United States.

- Select add to the right of Tier 1 to create Tier 2. We labeled this tier Northeast.
- Select the add to the right of Tier 1 to create another Tier 2. We labeled this tier West Coast.

- Select add to the right of one of the Tier 2s to create Tier 3. We labeled the tier New Jersey. We repeated this step to create another Tier 3 and labeled that tier New York. We repeated this step to create California and Nevada below the other Tier 2.

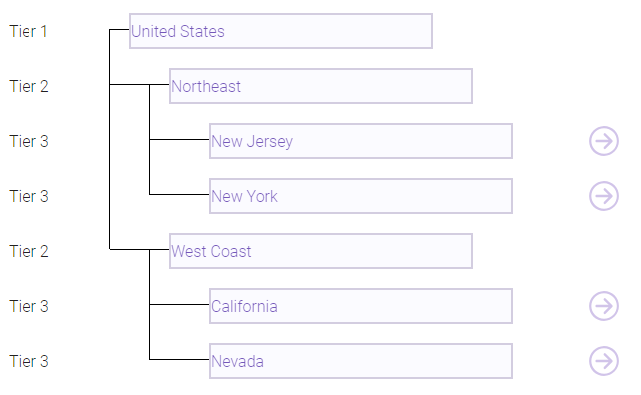
- Select Save. Notice the arrows to the right of the lowest tiers. Select an arrow beside a tier to open the Set Locations screen, where you will assign locations to that tier. Alternatively, select the Set Locations tab.

- Assign locations to tiers:
- In Step 1, select a tier from Tier 2. For this example, we selected Northeast. The Tier 3 drop-down appears.
- In Tier 3, we selected New Jersey as the tier to which we are assigning locations.

- In Step 2, use the provided filter to search for locations you wish to include in the tier. Use the mover on the bottom of the screen to move locations to the Included list.
- When finished, select Save.
- Select an arrow beside another tier and repeat steps 11a through 11d.
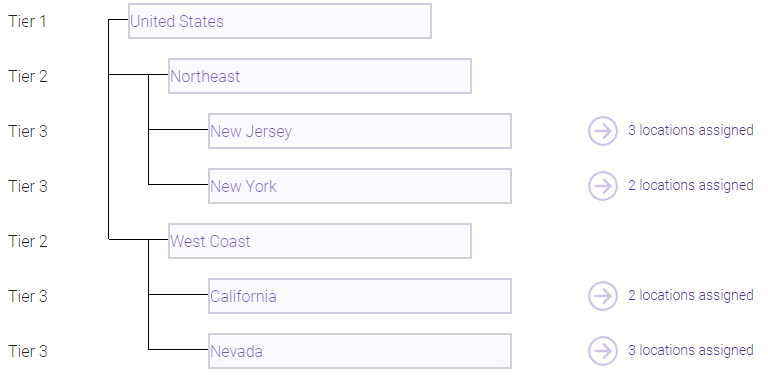
- After assigning locations to a tier, the number of locations appears beside the tier in the Design Hierarchy tab.

- This completes the Reporting Hierarchy setup. You can now use these hierarchies in Central Office reports.