Adding a Logo to a Receipt
The steps below need to be performed once for each receipt printer. The only time you should revisit these steps is if you would like to upload a different logo.
Epson network printers (Windows only)
- Follow the instructions below to download and install the Epson utility.
Epson printer utility installation instructionsEpson printer utility installation instructions
- Download the Epson TM Flash Logo Setup Utility to your desktop.
- Install the utility by double-clicking
its shortcut. The Welcome screen appears. Click Next.
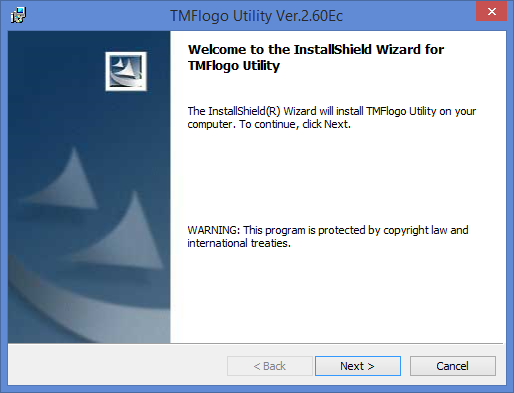
- On
the License Agreement, select
I accept... and click Next.
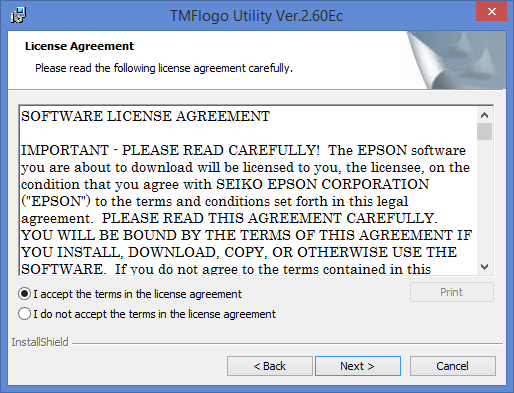
- MSI
recommends that you do not change the destination folder. Click Next.
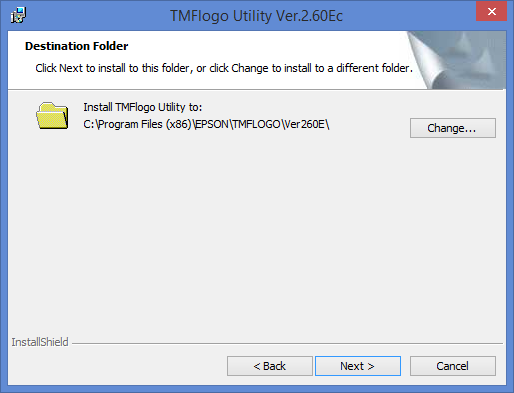
- On
the Port window, select Ethernet Port and click Next.
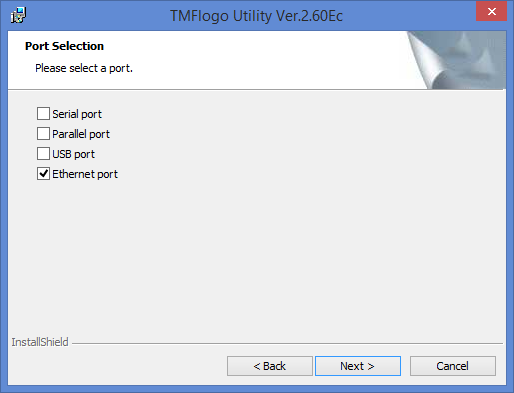
- Click
Install. Wait for the wizard
to finish.
- When installation is complete, click Finish.
- Run the utility:
- On your keyboard, press the Windows key + E to open Windows Explorer.
- Click the C: drive.
- Open Program Files (x86) > EPSON > TMFLOGO > Ver260E
- Scroll down and select TMFLogo.exe to run the utility.
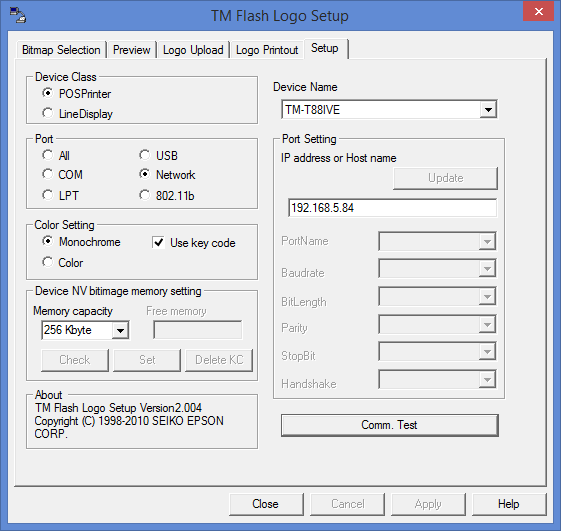
- Click the Setup tab and make the following changes:
- Device Name: Select TM-T88IVE.
- Port: Select Network.
- Color Setting: Select Monochrome and ensure Use key code is selected.
- Port Setting: Enter the printer's IP address and click Update. Then click Comm. Test and wait for a successful message.
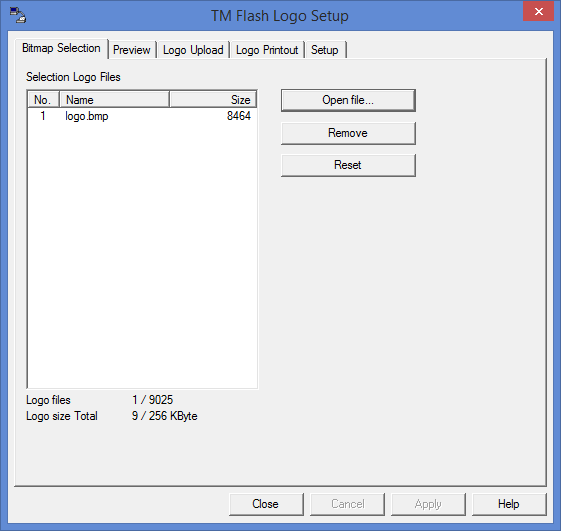
- Click the Bitmap Selection tab and click Open file. Select the logo, which must be a .bmp file.
- Click the Logo Upload tab and select the image you just uploaded to highlight it.
- Under Set start key code, ensure First byte and Second byte are set to 32. Note that if you upload multiple images, only the logo with Key Code of 32 will print.
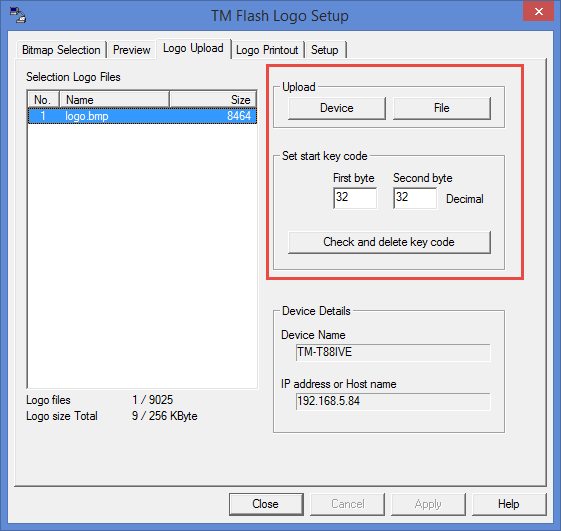
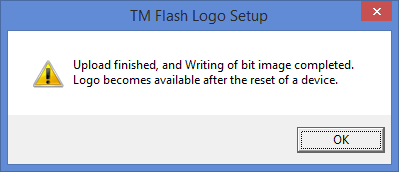
- Under Upload, click Device. Click Yes if you receive a confirmation message. Wait for the image to finish uploading and the following message to appear:
- On the Logo Printout tab:
- Click Get key code.
- When 32 32 appears, select the row to highlight it.
- Click Print.
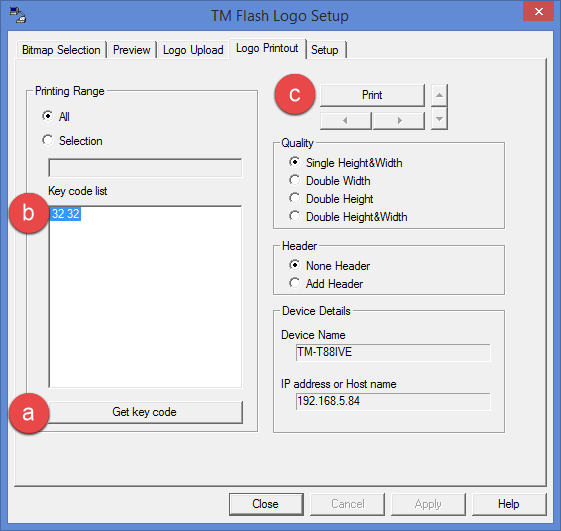
- The logo prints on the test receipt, signaling a successful upload to the Epson printer.
Star network printers (Windows only)
- Follow the instructions below to download and install the Star utility.
Star printer utility installation instructionsStar printer utility installation instructions
- Go to the Star Micronics Printer Utility Support Page and make the following selections to download the correct utility:
Product Type: Thermal
Printer Family: TSP650II
Printer Model: TSP650II
Interface: Ethernet
Operating System: Windows 10 / 8.1 / 8 / 7
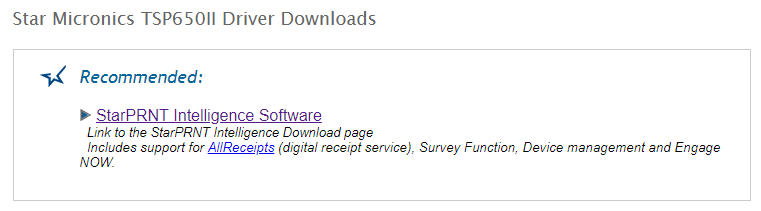
- The
Recommended utility is StarPRNT Intelligence Software.
Click the link.
- A list of downloads appears. Select the download applicable to your operating system (32-bit or 64-bit).
Tip: Right-click My Computer or This PC and select Properties to determine if your operating system is 32- or 64-bit.
- Locate
the ZIP file you just downloaded, right-click it, and select Extract All to unzip ("unpack")
the files. Select the Desktop
as the location, and click Extract.
- Open
the folder you just unzipped, and open the Setup
folder. Double-click the Setup.exe
file to run the installer.
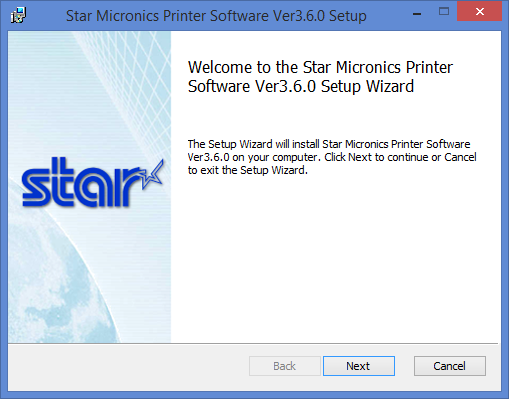
- The
Welcome screen appears. Click
Next.
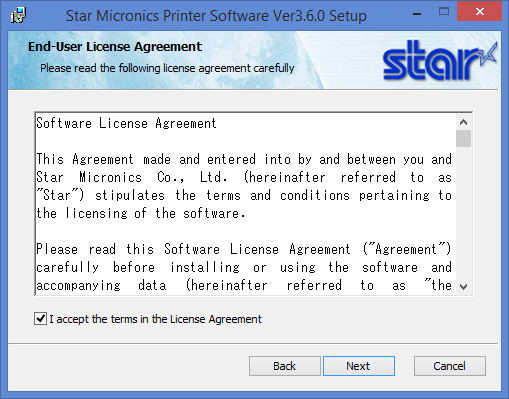
- On
the License Agreement, select
I accept... and click Next.
- Select
Typical.
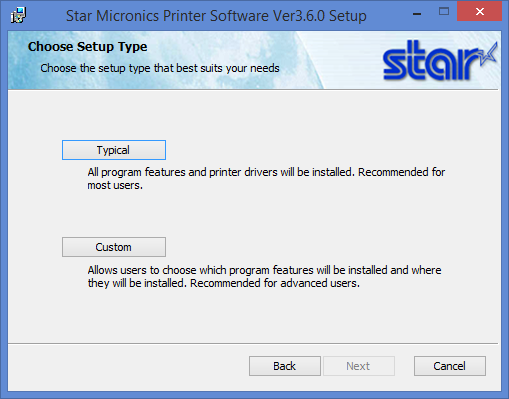
- Click
Install and wait for
the utility to finish installing.
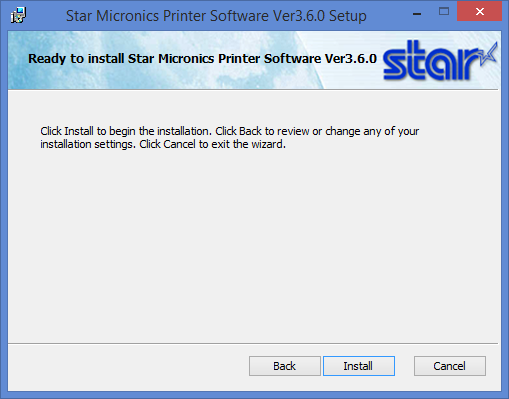
- When installation is complete, click Finish.
- On your keyboard, press the Windows key + E to open Windows Explorer, and navigate to the following directory:
C:\ProgramData\Microsoft\Windows\Start Menu\Programs\StarMicronics\Printer Software - Double-click Printer Utility Star PRNT.
- Click Logo Store.
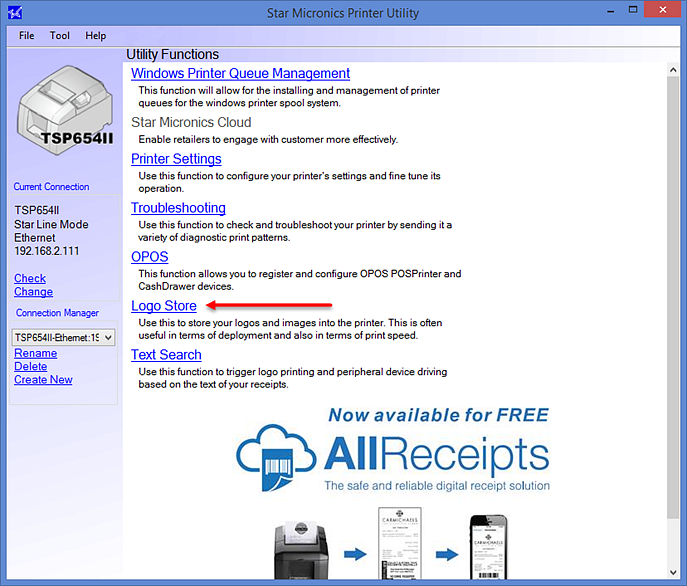
- The Utility Functions window appears. Click Add and select the logo from your computer.
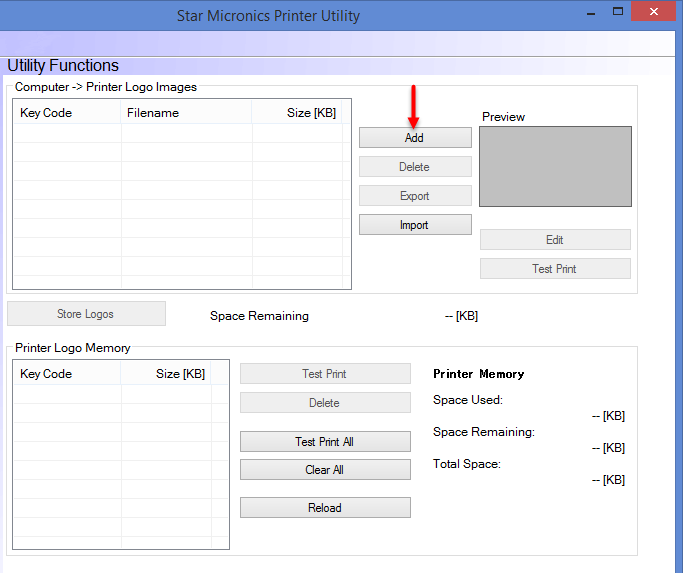
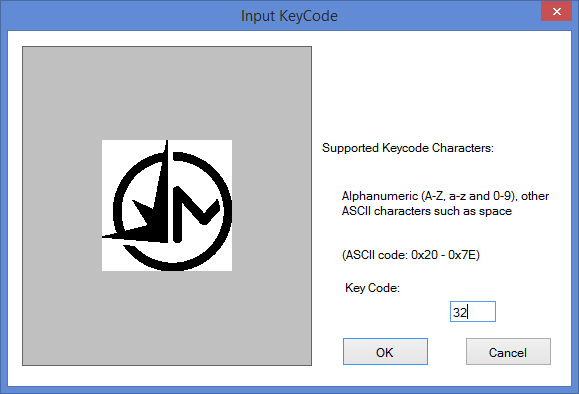
- Enter a Key Code of 32 and click OK. Note that if you upload multiple images, only the logo with Key Code of 32 will print.
- Click Store Logos to add the image to the Printer Logo Memory.
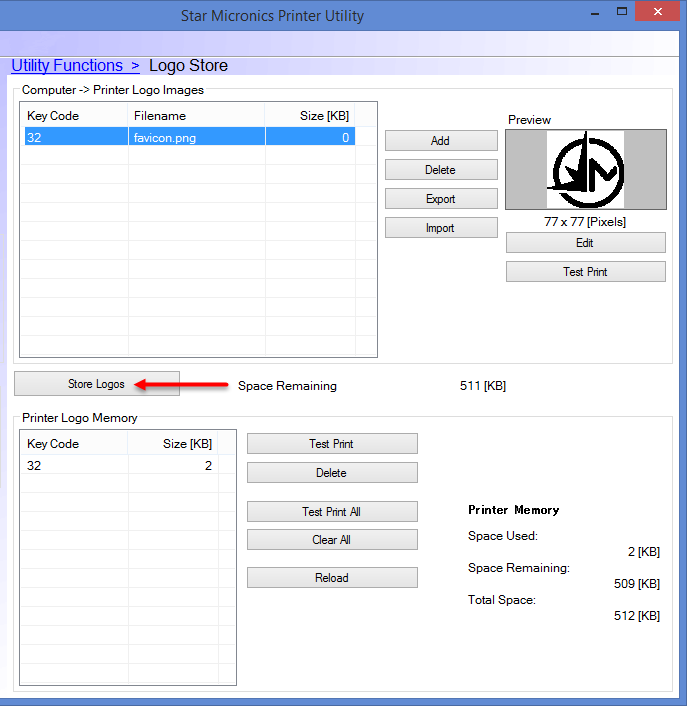
- It is recommended you click Test Print to verify that the logo prints properly on the receipt. You can resize the image by selecting it and clicking Edit.
- When you are satisfied with how the logo prints, you can exit out of the utility.
Star USB printers (Windows and Mac)
- If on a Mac, follow the instructions below to download and install the Star USB printer utility.
Star USB printer utility installation instructionsStar USB printer utility installation instructions
- Go to the Star Micronics Printer Utility Support Page and make the following selections to download the correct utility:
Product Type: TSP100 futurePRNT
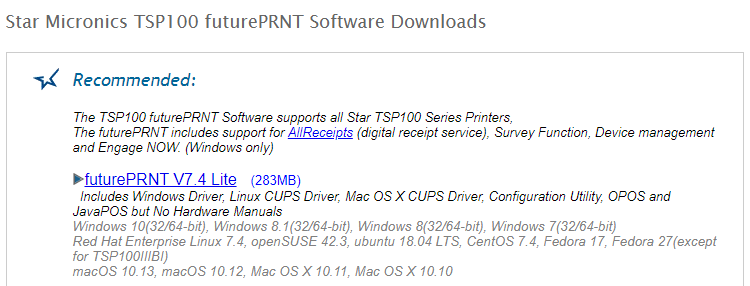
- The Recommended utility is futurePRNT V7.4 Lite. Click the link to download.
- Locate the ZIP file you just downloaded, right-click it, and select Extract All to unzip ("unpack") the files. Select the Desktop as the location, and click Extract.
- Open the folder you just unzipped, and open the Window. Double-click the Setup.exe file to run the installer.
- Install the utility by double-clicking its shortcut.
Alternatively, if on a Windows machine, navigate to Devices and Printers. Right-click the installed USB receipt printer and select Printer properties. Select the TSP100 Config tab and select Launch Configuration App.
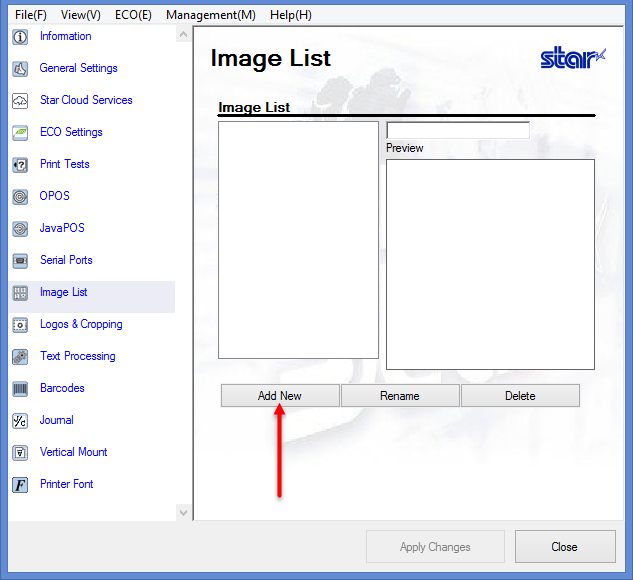
- In the configuration utility, click Image List, click Add New, and select the logo from your computer.
- Give it a name that makes the image easy to identify.
- The width of the image should be less than 30 mm.
- Dither Method: None
- Click Use Image.
- Click Logos & Cropping.
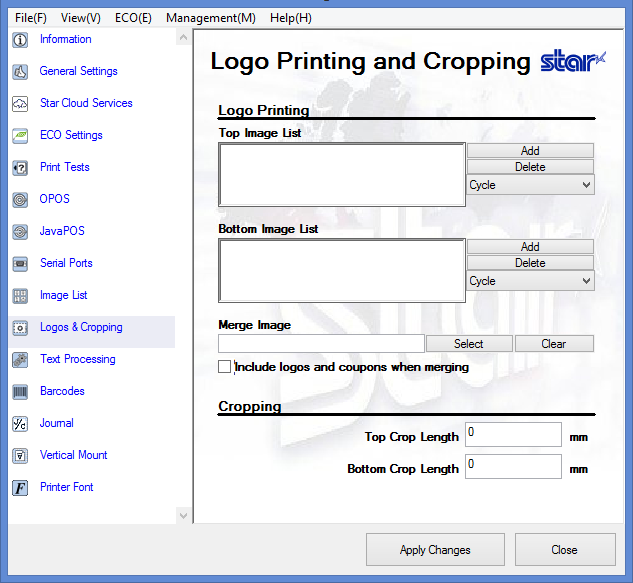
- Under Top Image List, click Add.
- Select the image you just uploaded to the utility and click Alignment: Center.
- Click Use and then click Apply Changes.
- Test your receipt printer in Meevo before exiting out of the utility.