Using Social Posting
Social Posting in OPM allows you to make posts on Facebook, Instagram, and Google directly from your OPM dashboard in Meevo. From the new Post sub-tab under Online Listings Management, you can:
- Post to Sites: Create a post on Facebook, Instagram, or Google, or post to all three sites simultaneously, and even schedule those posts in advance.
- View Posts: You have visibility into all posts, even those that weren’t posted from OPM. This allows you to see what’s happening everywhere from one dashboard.
- Filter Posts: Filter based on things like website or keyword.
- Delete Posts: Delete a post, even if not posted from OPM.
- Comment on Facebook Posts: Comment on Facebook posts directly from the dashboard.
- View Post Analytics: See post-level engagement such as likes or shares.
To get to Social Posting, go to Online Presence Management > Social.
Notes on Instagram Posting
Instagram Business Account posting is available to businesses with a linked Facebook account. Through OPM, you can create a post with a caption and single photo, as well as manage comments on a post (view, add comment, reply to comment, delete comment). You can refer to Yext's article Instagram Posting for additional details.
To create Instagram posts through OPM, you must:
- Link your Facebook account.
- Have a listing on Facebook for the relevant location.
- Associate the linked Facebook account with the corresponding Instagram account (this is done in Facebook or Instagram).
To view and filter existing posts
Posts appear in the main area on the right side of the screen. Posts can be filtered using the Advanced Filters on the left.
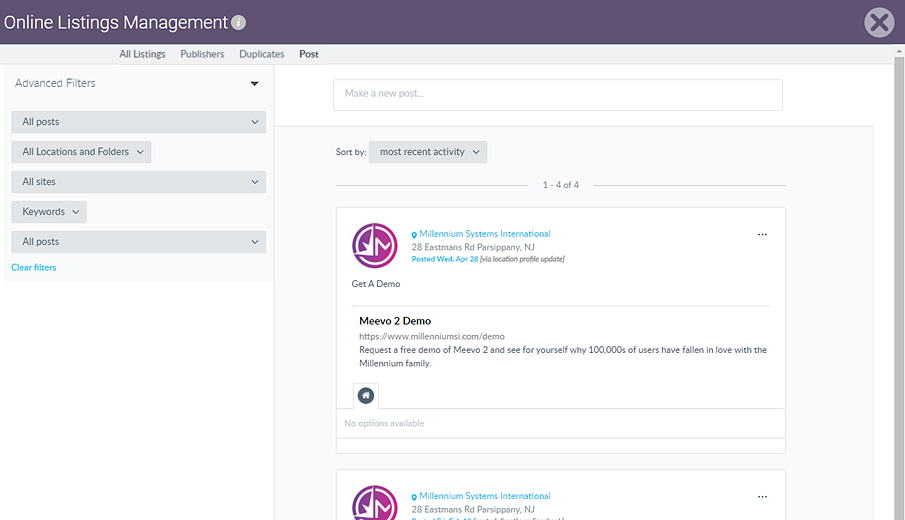
Each tile in the list provides details about a specific post. If a post went out to multiple sites at once, it still appears as only one tile, but with a tab for each site in the comment/action area.

- Sort all posts using this drop-down. Posts can be sorted by recent activity (posts with the most recent comments) or recent post (date of the original post).
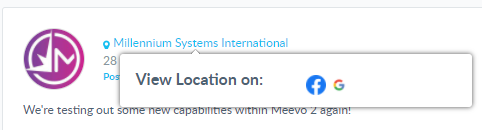
- Within each post, you can click the blue text to open a sub-menu with direct links to each site: selecting the location name displays links to your business page on Facebook and Google, while selecting Posted __ ago gives you direct links to the post on each site.
- This is where you can read Facebook comments, comment on a Facebook post, and monitor the number of views on a Google post. The Facebook tab displays the number of comments on the post, while the Google tab displays the number of views on the post.
Filter posts
Using Advanced Filters, you can filter posts on this page by various criteria, including site, keywords, and more. Note that you can expand or collapse the filter menu by selecting Advanced Filters.
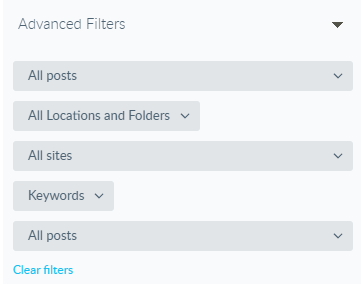
- All posts (top): Filter by posts you've made or posts customers have made.
- All Locations and Folders: This drop-down simply lists your location and is for informational purposes only.
- All sites: Filter by posts from specific websites.
- Keywords: Enter one or more keywords and select Search to view all posts that contain any of those words.
- All posts (bottom): Filter by Scheduled Posts or Delivered Posts.
To comment on existing posts
To comment on an existing Facebook post, select the Facebook tab on the post and enter a message in the Write a comment field. Select Post when ready to post the comment.
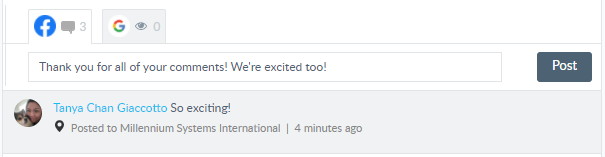
Note: When you post a comment from OPM, you are commenting on the post itself, not replying to a comment. To reply to a comment, click the time stamp associated with the comment ("4 minutes ago" in the screenshot above). This opens your Facebook page on that post, where you can reply directly.
To create a new post
Note: For additional details on creating a social post, see Yext's article Create a Social Post.
When creating a new post, you can choose which sites you wish to post to. If you select multiple sites, selecting Post will post to all sites simultaneously, saving you the effort of having to create a post on each site. You can choose to post immediately (as described in this section) or schedule the post for a later date and/or time, described further below.
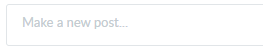
- Click in the Make a new post... field at the top of the page. This reveals additional fields that you'll fill out to create the post.
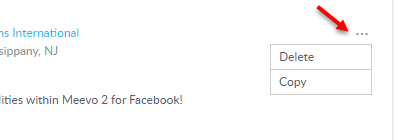
Note: You can copy an existing post by selecting the ellipsis in the top-right corner of a post and selecting Copy. This will create a draft post with the text that was copied from the original post.
- Select a logo to enable or disable posting to that site. When a site is deselected, the icon will be grayed out. Depending on your website selections, the character limit and certain options may change. In the image below, we are preparing a post for Facebook only, so we disabled the Google Local site. Note that the All Items drop-down will list your location and is for informational purposes only.
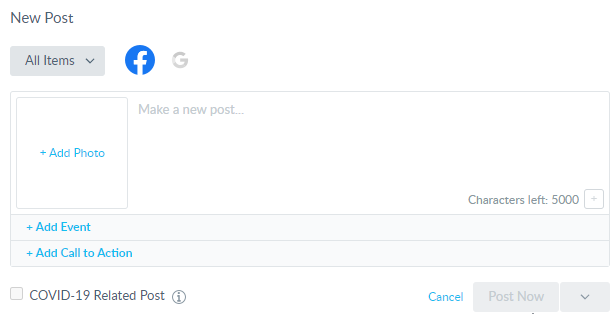
- Create your post by entering text and adding a photo, if desired.
- Add Event (Google support only): Select Add Event to associate an event with this post. This content appears on your Google Business Profile under Updates from [your company name].
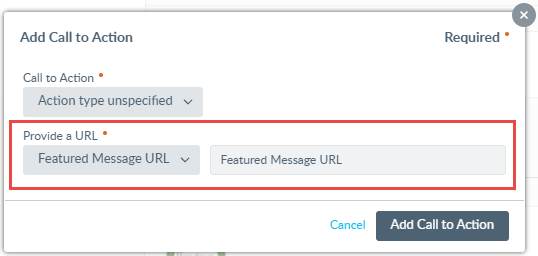
- Add Call to Action (Facebook and Google support): Select Add Call to Action to add an action type (Book, Order, Shop, Learn More, Sign Up, or Call) and provide a URL.
- On your Google business page, this content appears under Updates from [your company name].
- In Facebook, you can map your Featured Message to the Facebook Call to Action button (as shown below).
- When you are finished preparing your post, select Post Now to post immediately. To schedule a post, see the next section.
To schedule a post
You can schedule a post to go out at a later date or time. There is no limit to how many posts you can schedule, nor is there a restriction on how far out you can schedule a post.
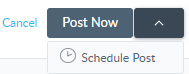
- Begin scheduling a post by selecting the arrow beside Post and selecting Schedule Post.
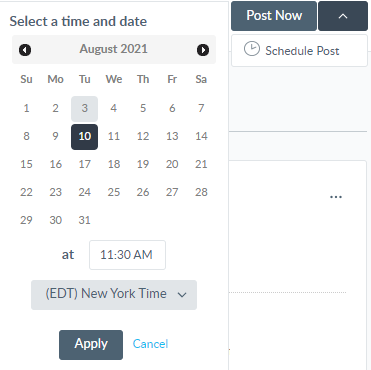
- Use the calendar to select a day and time, and select Apply.
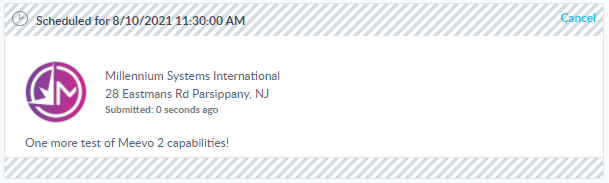
- Scheduled posts appear with hashed lines at the top of your post history. The post will automatically deploy at the scheduled date and time. After it's been posted, the tile hashes will be removed from the post, indicating that it is posted and no longer "scheduled."
Note: You can cancel the scheduled post at any time by selecting Cancel in the top-right corner.
To delete a post
You can delete an existing post, even if it wasn't posted by OPM, by selecting the ellipsis in the upper-right corner of the post and selecting Delete. This immediately deletes the post from that site and from OPM.
Note that if you delete the post from the source site (for example, directly from Facebook), the post will not be automatically deleted in OPM. As a best practice, you should manually delete the post from OPM after deleting it from the source website.