Adding a User Defined Field
- Go to Meevo > Data > User Defined Fields.
- Select Add New Field.
- Select a Field Type:
A box that, when selected, expands to a list of available options for the user to select. Only one option can be selected by the user.
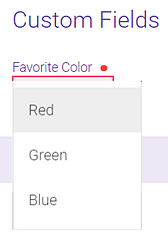
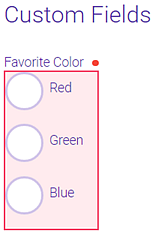
A list from which only one item can be selected.
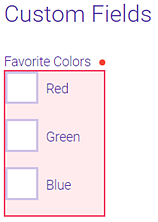
A box that contains a list of possible selections. One or multiple items can be selected from this box.
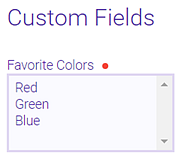
A box that contains a list of possible selections. One or multiple items can be selected from this box.
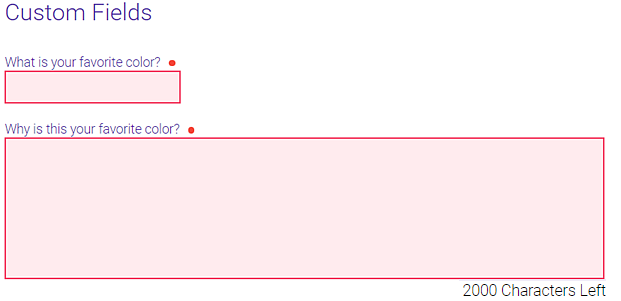
Text Area / Text BoxText Area / Text Box
A Text Box ("What is your favorite color?") is a small text box for shorter answers. A Text Area is a large text box with a 2000 character limit. Use a Text Area if you anticipate a user entering a large amount of text.
This field presents the user with a "date picker" calendar when the calendar icon is selected.
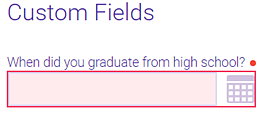
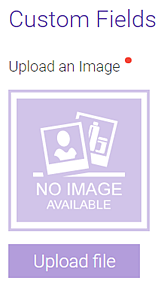
Image Upload / Document UploadImage Upload / Document Upload
The Image Upload / Document Upload fields add "upload" functions that allow the user to upload multiple images or documents. Image uploads can be .jpg, .jpeg, .png, and .gif, and document uploads can be PDF, Word, and Excel files. You can search for clients by whether they do or don't have an uploaded file to a specific UDF Image Upload or Document Upload field.

- Required: Makes this custom field a required field in the Meevo form. If you select this option:
- You can assign the field to the Main tab only.
- The UDF cannot be assigned to the Checkout App Area.
- You cannot choose a Default selection for lists. Required fields in Meevo never have a default option automatically selected to ensure the user deliberately selects an option.
- Name: The name of the custom field as it appears in Meevo search forms. This is not the field label.
- Label display to end user: This is the field label; it is what appears above the field in the assigned form. This field accepts a maximum of 127 characters.
- Shortcut: Like the field Name, the Shortcut helps you easily locate the field in Meevo search forms.
- Value (for Drop Down, Radio, List Box, and Check Box Field Types only): Defines the available options for the custom field.
- Enter at least one Value and select Add Value.
- To add more values, repeat step a as many times as needed.
- If you did not select Required in step 5 above, you can select Default beside a value; this value will be selected by default when the form is first opened.
- Active: When selected, the field appears in the form immediately after you assign it.
- Hide from reports: Hides this field from reporting activity. Note that this applies to reports only; audit data is always collected on all fields in Meevo.
- When finished, select Save New Field.
- See To assign a User Defined Field for instructions on assigning the custom field to an App Area.