Creating an Emma Signup Form to Opt-in Clients
Signup forms are crucial tools for obtaining email and SMS consent from contacts.
Email consent
All Email Marketing accounts include a default signup form for users to subscribe and unsubscribe to your mailings.
- It is a static form that you can add to a website.
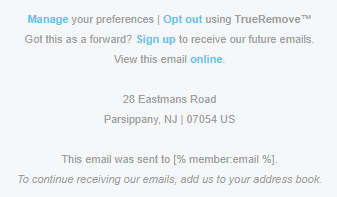
- A link to this signup form is automatically included in the footer of all of your email templates.
- The sign-up form is what recipients will see if they select the Sign up link in the footer of your email.
As a best practice, make sure your contacts are double opted-in through a Classic or Lightbox form. When requesting user data for email marketing, there are two signup methods available: single opt-in and confirmed opt-in (also known as double opt-in or verified opt-in). A double opt-in will further bullet-proof your audience list as permissible.
SMS consent
SMS consent is similar to email consent, but there are a few key differences that are important to keep in mind.
- To align with the Telecommunications Protection Act (TCPA), you must obtain consent for transactional and marketing messages separately. Capturing consent cannot be tied to a single checkbox.
- The text must also contain explicit language around the use case that the consent is tied to (e.g. “I would like to receive marketing messages.” or “I would like to receive informational messages.”)
- When building the form, Emma provides a workflow that allows you to add and edit all of these elements, as described below.
Important: Currently, Lightbox forms cannot be used to obtain SMS consent.
More on signup forms
- Every campaign requires you to select a signup form on the Review and Send step.
- All Email Marketing accounts come with the following Default Signup Form:
- For SMS consent, signup forms are a crucial tool. When you add a Mobile SMS Number to the form, this kicks off a separate workflow for adding those SMS elements.
To create a signup form
Note: See this topic for guidance on using the Forms feature to create an appointment request form!
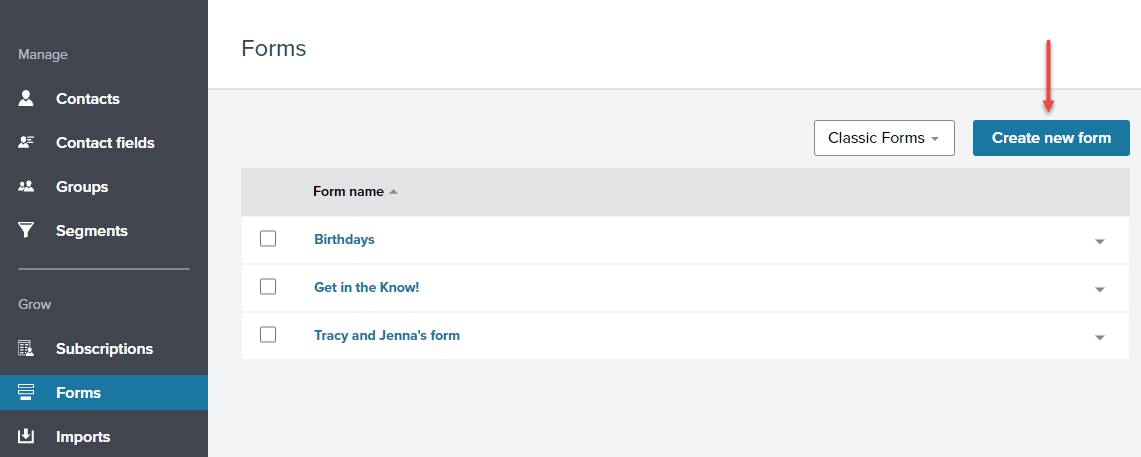
- Log into your Emma account and select Audience. Then, select Forms from the Add menu on the left and select Create new form.
- On the Form builder, select the type of form you want to build. Each tile explains the typical use for that type of form.
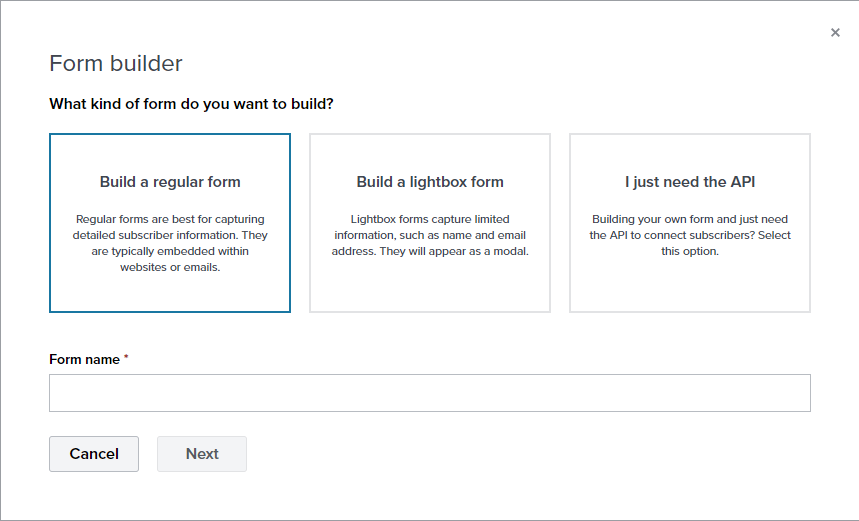
- Build a regular form: These are the most common forms, and they usually get embedded in websites or emails; see the Regular form section below. If you are creating a signup form to obtain SMS consent, you must select a Regular form.
- Build a lightbox form: These forms are usually smaller in scope and appear as modals (pop-up windows); see the Lightbox form section below.
- I just need the API: An API is an interface that allows developers to get other programs talking with your account. Let’s say you’d like to sync up your audience or response data with an outside database, or that you want to add new contacts to your account through a custom signup form on your website. You’d use this API to make it happen. Selecting this tile allows you to generate an API key.
Regular form
When using the new Regular signup form builder, you'll be able to show your subscription options on the signup form and create new fields for the form right from the builder.
Note: For additional details, you can also review the Email Marketing Help topic How to Create a Regular Signup Form.
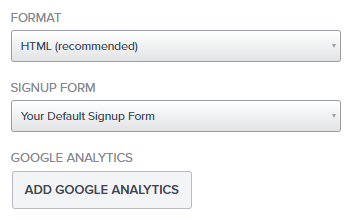
- Configure the Settings; each option provides a brief explanation of what it does.
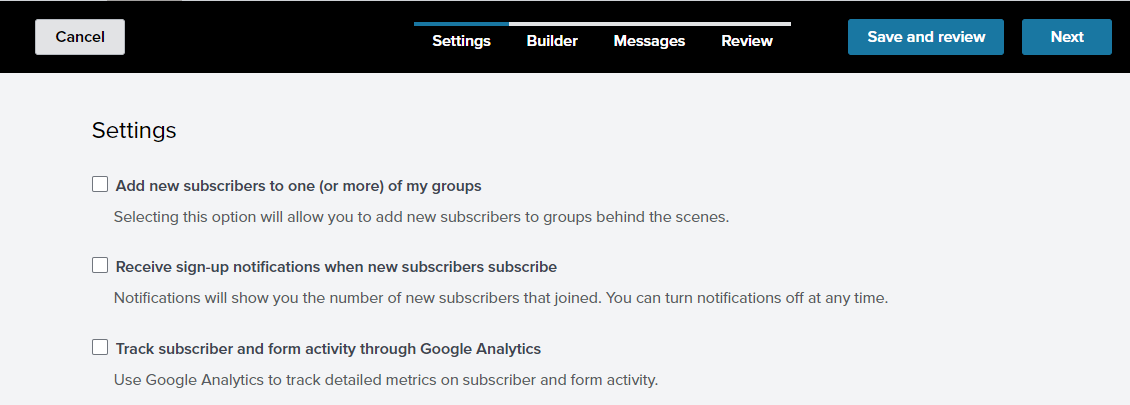
- Add new subscribers to one (or more) of my groups: If you enable this option and select a group, any new subscribers that fill out this form will be funneled not only into your Active Audience list, but also into the group(s) defined here.
- Receive sign-up notifications when new subscribers subscribe: This option allows you to define when (and to where) notifications are sent when new subscribers subscribe.
- Track subscriber and form activity through Google Analytics: If you use Google Analytics, you can enter your Google Analytics Tracking Code here to begin tracking activity on your form.
- When finished, select Next.
- This brings you to the Builder step, where you'll create the form and add your desired consent / opt-in checkboxes.
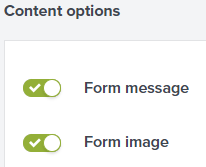
- Under Content options on the right pane:
- Enable Form message so you can create an introductory paragraph to the form.
- Enable Form image if you wish to upload a logo for the top of the form.
- To add fields for collecting SMS numbers and SMS marketing opt-ins through this signup form, you'll add an SMS Mobile Number field through the Add Object menu. This kicks off a separate workflow where you can configure opt-in checkboxes and terms and conditions. See SMS Marketing: Adding Consent Fields to a Form for more details.
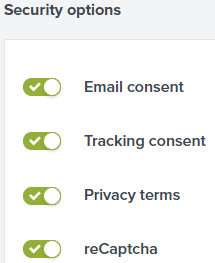
- Under Security options on the right pane, we highly recommend you make sure these options are enabled:
- Email consent: This opts clients into your email marketing campaigns.
- Tracking consent: This adds an additional line that uses must check and accept, I consent to having my subscriber engagement tracked and analyzed.
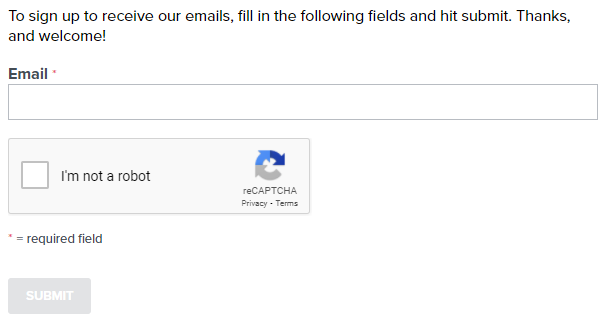
- ReCaptcha: This protects the form from spam and abuse.
- Privacy terms: If you are providing Privacy terms, enable this option.
- When finished, select Next to advance to the Messages step. Define any messages you want to appear after the form was submitted. Enable Send confirmation email after signing up; this makes sure your contacts are double opted-in. When finished, select Next to advance to the final Review step.
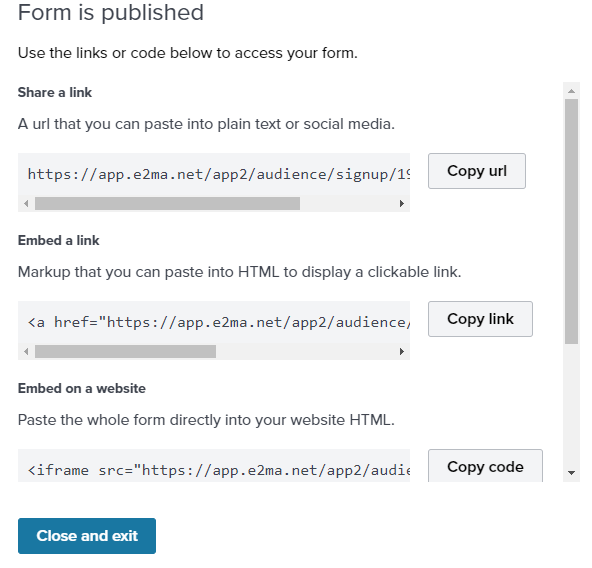
- Review the form and settings. When ready, select Publish to finalize your forms. Note that Publish does not actually send the form anywhere; instead, you will be provided with URLs and codes that you can use to distribute or embed the form.
Lightbox form
Note: For additional details, you can also review the Email Marketing Help topic How to Customize Your Lightbox Form.
- Use the on-screen form building wizard to compile your lightbox form. When building the form, we strong recommend the following:
- Enabling reCAPTCHA, as this protects the signup form from spam and abuse.
- Enabling Send confirmation email if it is not already enabled. This makes sure your contacts are double opted-in.
- Enabling the Email and Tracking consent checkboxes, as these ensure that clients consent to your email campaigns.
- When finished, select Save and activate. You can copy the form via the Copy to Clipboard button.