Creating a Form with Custom HTML Upload
This topic covers the Custom HTML Upload for Client Intake Forms and Docs & Forms. For this method, MSI highly recommends that the form be created by a web designer or someone with sufficient experience using HTML. You'll want the form to be responsive (mobile friendly), and a web designer will be able to achieve this relatively easy.
If you decide to create your forms via Custom HTML Upload and you code using our HTML Generator tool, please be advised that we may change how the tags are used from time-to-time. If we do adjust the tags, you will need to recreate the form in its entirety for it to work properly again. To avoid this scenario, we recommend using the drag-and-drop Form Designer.
Important: Meevo is a HIPAA-compliant platform. If you are collecting client data, it is your responsibility to use this platform according to HIPAA regulations.
Note: To avoid issues with the form's usability, do not include any external links, and do not apply custom styling (use Meevo's provided styles instead). Including either of these elements in a form may cause undesired results.
- From the Form Builder tab, select Custom HTML Upload.
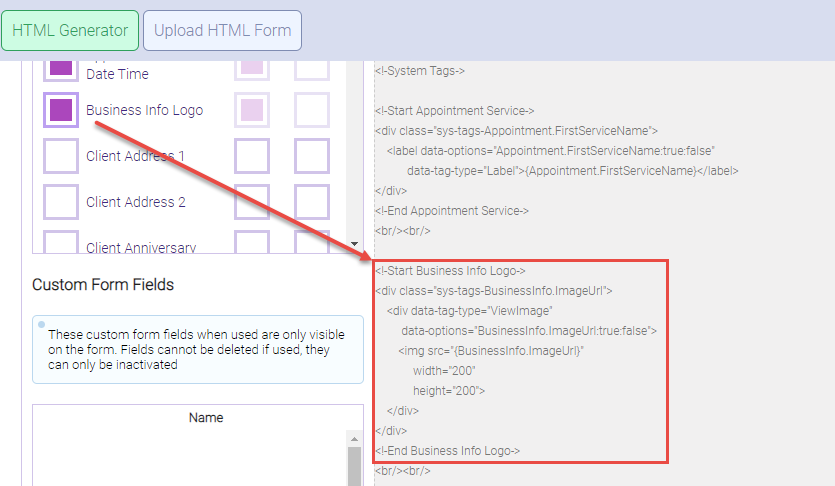
- From the HTML Generator tab, add the tags that will appear in the form using the provided System Tags.
- HTML templates must contain at least one of the following tags in order for the form to be sent to clients: system tag, custom form field, or UDFs.
- The HTML cannot be edited directly in Meevo. In this screen, you are simply adding Meevo tags that can be used in the form. A web designer will use those tags to build out the form in a separate third-party application, which we explain further below.
- The HTML on the right contains "commented out" notes that provide guidance on what a web developer can and cannot do.
- When you are done adding tags to the form, copy the HTML template and paste that code into a third-party application to finish building out the form.
- When finished building the form, upload the final form back into Meevo.
System Tags
System Tags are a way for the client to enter new or updated information in the form. System Tags are also used to customize the form to the client, as they are automatically populated with the client's appointment, service, address, and more (if that data is available in Meevo).
Here are a few more important details related to System Tags:
- If a client completes/edits a System Tag (like Client First Name) in the form and submits it, this will be reflected in the client's Meevo profile.
- The Business Info Logo tag pulls in the logo you uploaded in the Business Information > Main tab. If the location does not have an uploaded logo, then Meevo will use the logo that was uploaded in Central Office.
- Not all System Tags are editable in the form. Generally, if the field is editable in Meevo, then the tag will be editable in the form as well. Tags that are not editable simply pull in the relevant information into the form.
- If Read Only is selected in the Tag Editor, the field will not be editable in the form. Select Required to make that field required when the form is being filled out; a user will be unable to submit the form until all required fields are completed.
As you select a tag from the left column, its HTML is automatically added to the builder on the right.
Images in the form
There are two ways to add an image when using Custom HTML Upload. Both images can appear in a form at the same time.
- Select the Business Info Logo tag. The Business Info Logo tag pulls in the logo you uploaded in the Business Information > Main tab. If the location does not have an uploaded logo, then Meevo will use the logo that was uploaded in Central Office.
- You can also upload an image just for this form. This image (typically a business logo) will appear in the Custom HTML Upload code. Follow the steps below to upload an image.
- Before uploading, make sure your image has a square background like the one below. This ensures the image will appear correctly when it renders on the form.

- Open the form definition and select the No Image Available placeholder (or the existing image you will replace).

- In the File Upload window, there are two ways to select a file. Use Select File to browse to the image and select Open; the image appears in the preview box to the right. Or, find the file on your system and drag and drop it into the DROP IMAGE HERE box on the right.
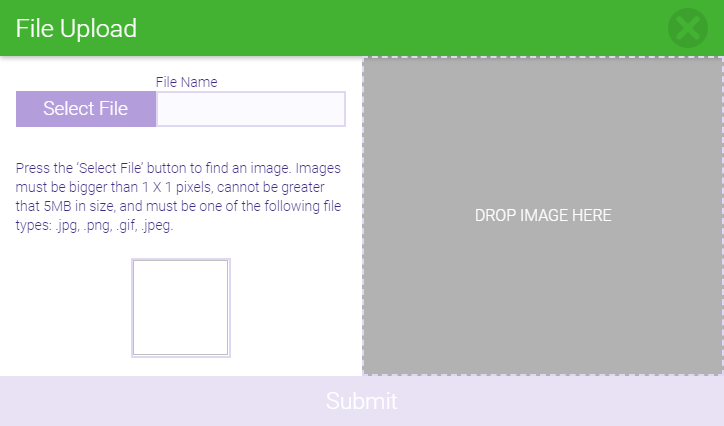
- In the preview box, you can drag, expand, or condense the highlight circle until the image is captured perfectly. The circle on the left is the preview of how the final image will appear on the form.
- Select Submit to upload the image.
- In Custom HTML Upload, this image will appear as a line of code towards the top of the page, beginning with:
<img src="https://s3.amazonaws.com/ - This line of code should be placed were needed in your form.
Custom Form Fields (Docs & Forms Only)
Custom Form Fields are fields that you can create while building the form.
To create a Custom Form Field, select New Field to open the Add New Field window. Then, refer to Adding a User Defined Field for step-by-step guidance on filling out these fields, and note the following:
- Once data has been collected against a Custom Form Field (for example, a client fills out the field and submits the form), the Custom Form Field cannot be deleted.
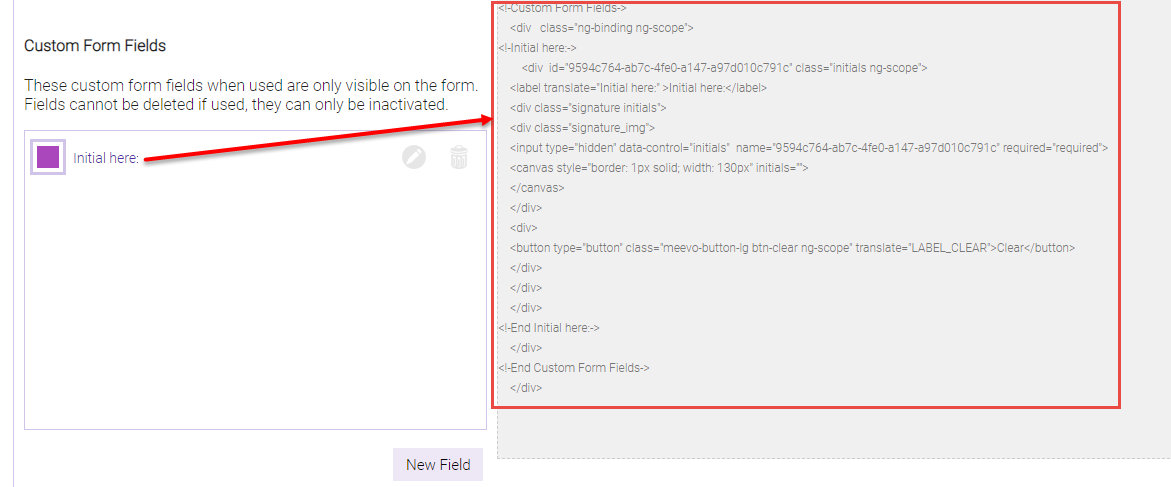
- In Docs & Forms, there are additional Field Types that you will not see in the UDF topics: Signature, Signature (Initials Only), and Markup/Annotation. The signature fields allow a client to sign digitally using a mouse or touch screen, while the markup field allows a client to "mark-up" an image (for example, for a medspa client form).
Note: Do not change the size of signature field types. If you change the aspect ratio or "stretch" the signature fields types, this can cause issues with how client signatures appear on the form.
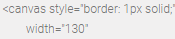
Note: To resize the markup/annotation image, you'll need to use the canvas tags in the form that appear after enabling the markup field.
- UDF Field Types Document Upload and Image Upload are not available in Form Builder.
- Select a Custom Form Field to automatically add it to the Form Builder.
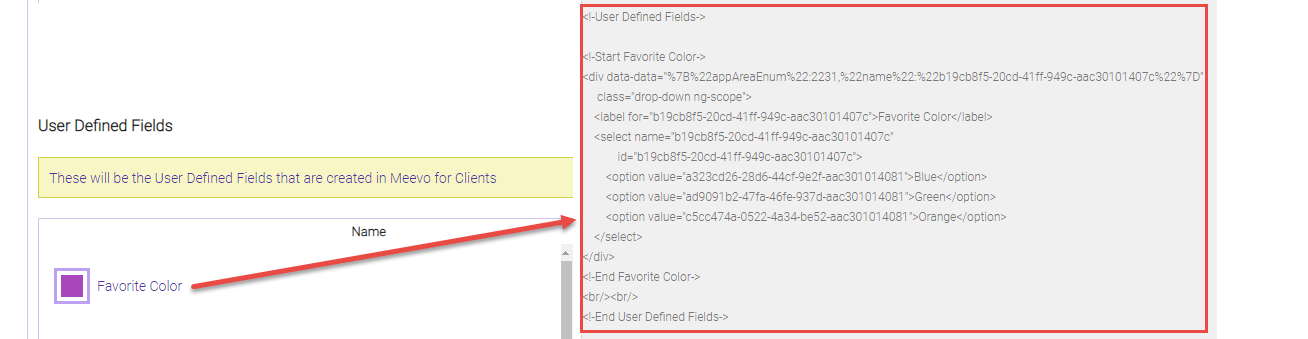
User Defined Fields
Here, all User Defined Fields that were assigned to Client profiles are listed. For guidance on creating a User Defined field, see Adding a User Defined Field. Note the following:
- Only User Defined Fields that were assigned to Client profiles appear in this list. If you are using Business Types, only User Defined Fields that are assigned to All Business Types will appear here.
- Once data has been collected against a User Defined Field (for example, a client fills out the field and submits the form), the User Defined Field cannot be deleted.
- Select a User Defined Field to automatically add it to the Form Builder.
To copy the HTML
When you are finished adding tags and custom fields to the form:
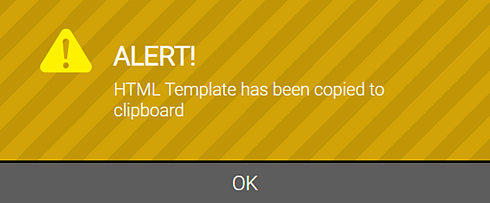
- Select Select & Copy HTML Template.

- The following alert appears, confirming a successful copy.
- Paste the HTML code you just copied into a third-party application, which the web developer can use to complete building out the form.
To upload the form
Note: A form must contain at least one tag for the system to send it. Forms that are uploaded without any tags will not be sent.
When you are ready to upload the .html or .html file back into Meevo:
- Select the Form Builder tab and select Custom HTML Upload.
- Within the Custom HTML Upload, select the Upload HTML Form sub-tab.
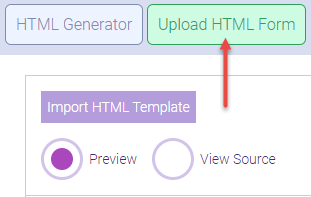
- Select Edit, and then select Import HTML Template.
- Browse to the form file's location, select it, and select Open. Make sure the file you are selecting has a .htm or .html extension.
- The form is imported into Meevo. Select the Preview option to view the form as it will appear to clients. Select the View Source option to review the code. Remember, you cannot edit HTML here, only review it. To make changes to the HTML, you need to copy and paste the code into a third-party application, make your changes, and then re-import the form back into Meevo.
- When finished, select Save.
- If you have not yet done so, go back to the Main tab and activate this form.