About Security Roles and Security Administration
What is a Security Role and what is Security Administration?
A Security Role is a designation for an employee that determines which features in Meevo the employee can see and use. You create the Security Roles from the Security Roles maintenance screen, and then define the areas of Meevo access for each role in Security Administration.
Is a Security Role Assignment required for every employee?
Every employee using Meevo must be assigned at least one Security Role, a mandatory field in the employee's profile. Without a Security Role, the employee will not have access to any features in Meevo.
What if an employee is assigned to more than one security role?
Employees are sometimes assigned more than one security role (for example, a Service Provider who also occassionally works at the Front Desk might be assigned both security roles). If an employee is assigned to multiple security roles, Meevo honors the role with the highest level of permissions.
What happens if a user attempts to access a feature that they don't have permission to use?
If the feature supports elevating security, the elevation pop-up appears, through which a user with sufficient permissions can temporarily grant access to the feature.
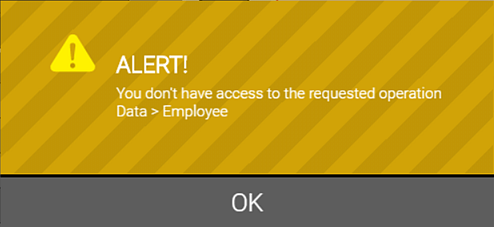
Otherwise, the following message appears, indicating the security key that is restricting access to the feature in question.
What are the available permissions in Security Administration?
The available permissions are as follows:
- Grant: Feature is fully available for use.
- Deny: Feature is visible in the software, but settings cannot be edited or changed. Attempts to use most features results in a prompt for elevation, which requires credentials from a user who does have access.
- Hide: Feature is completely hidden from user.
Are there best practices for setting up Security Roles for the first time?
MSI recommends you perform initial setup of Security Roles by following the steps below. Meevo performance will improve as each feature is completed and closed in Security Administration.
Tip: Selecting Deny at the feature level will apply the Deny security key to all sub-features below it.
- Create your Security Roles.
- In Security Administration, load all features.
- Load the Security Role you anticipate having the most Grant keys.
- Starting with the last feature in the list, define security.
- Save your changes often. This may take some time depending on the number of roles and features available.
- When finished defining security for a feature, save, and then select the trash can next to the feature to remove the feature from the list.
- Move up to the next feature in the list and repeat these steps until all features are defined.
- When finished defining security for the initial role, copy it, and then repeat the steps above for the next role.