Adding a Standing Block
Note: Block Types must be configured to block off employee time or a resource.
- Go to Meevo > Appointments > Standing Blocks and select Add New.

Tip: If creating several records that have similar details, select Copy to create a new record with fields identical to the one you just copied. This can save you a lot of time when creating data in Meevo.
- Employee and Resource: Both of these fields appear required, but only one must be populated. After selecting an Employee or Resource, the other field will no longer be required. If desired, you can select an option from the other field.
- Configure the frequency:
- Occurs: Select Daily, Weekly, or Monthly, and configure the frequency in Every ___.
- Day of Week: If applicable, select the Occurrence in Interval and the day of the week the block will occur.
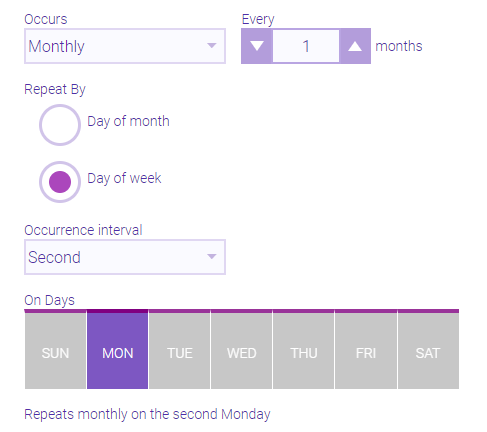
- Day of Month: Select to reveal the Day of Month option, where you decide which day of the month the block will occur.
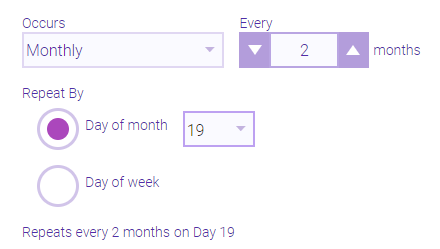
- Start Date: The start day of the Standing Block.
- Start Time: The start time of the Standing Block.
- Duration: Configure how long the Standing Block will be.
- Appointment Ends: Decide when the Standing Block will stop recurring:
- After number of blocks: The Standing Block will not schedule any more blocks than the number defined here; canceling a block does not affect this number.
- By Date: Select this option to reveal the date chooser and configure an End Date.
- Block Type: Select a Block Type.
- Enter an optional Reason if you wish to provide more information. A block's reason appears in the Appointment Book's Smart Assistant, and you can choose whether to display the Reason on the block itself using the option below.
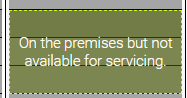
- Display Reason instead of Block Type in the appointment book: Enable this option to display the Reason in the Standing Block overlay instead of the Display Name.
- When finished, select Save.