Editing Appointments in Confirmation Manager
To edit an appointment
- Select the appointment from the left pane of the Confirmation Manager.
- Select Edit Appointment to open the Appointment Editor, and make your changes. See Editing Appointment Details for additional information.
To cancel (delete) an appointment
Note: See canceling an Appointment for additional information.
- Select the appointment in Confirmation Manager and select Cancel Appointment. The Appointment Book appears with the Select a cancellation reason window.
- Select a reason for cancellation, and then select OK. The appointment is removed from the Appointment Book.
- If the Cancellation Reason has a cancellation fee, a pop-up window appears asking if you'd like to process the fee Now or Later.
- As a best practice, verify that the appointment is deleted in the Appointment Book.
To view or add appointment notes
The Notes field on the bottom of the Confirmation Manager is where you can view, add, and edit appointment notes for the selected client.

To add or edit an appointment note, select the pencil icon to the right of the Notes field.
To view or add client notes
To view or add a client note, select the client/appointment from the client list and select Notes. You are brought to the client profile, where you can view or add client notes. See Managing Client Notes for additional information.

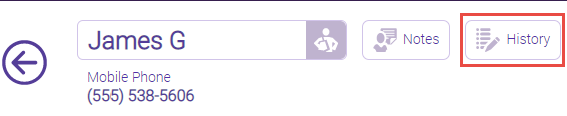
To view the appointment confirmation history
To view an appointment's confirmation history, select the client/appointment from the client list and select History. A pop-up window appears with the appointment's confirmation history.
To view the appointment audit history
To view an appointment's audit history, select the client/appointment from the appointment list, and then select Edit to open the Appointment Editor. From the Appointment Editor, select Log to see the appointment's audit history. See Viewing Appointment Audit Log/History for additional information.