Initial Textel Setup
Entering your phone number and session key
To complete these steps, you must have the Welcome email from Textel. Textel will set up your Textel enabled line number and Session Key in Meevo. Please DO NOT REMOVE COPY OR CHANGE THE KEY once it appears in your Textel for Meevo configuration settings.
Note: If you are also using Textel's marketing solution Textel Blast, you cannot use the same phone number that is used for Textel for Meevo. Using the same phone number will cause all Blast messaging to feed into your Textel for Meevo portal, so if customers opt out of text marketing while using the same number, the opt-out would block your ability to reach them via SMS. Therefore, a different line must be used, or Textel can rent you a line. For more details on Textel Blast, contact your Textel representative or go to https://capacity.com/salon-sms-software/?company=textel.net .
- After purchasing the Textel integration from the MeevoXchange, select the Meevo Messenger launchpad from the Management menu. Meevo Messenger appears.
- Select the gear icon in the lower-left corner to open Meevo Messenger Settings.
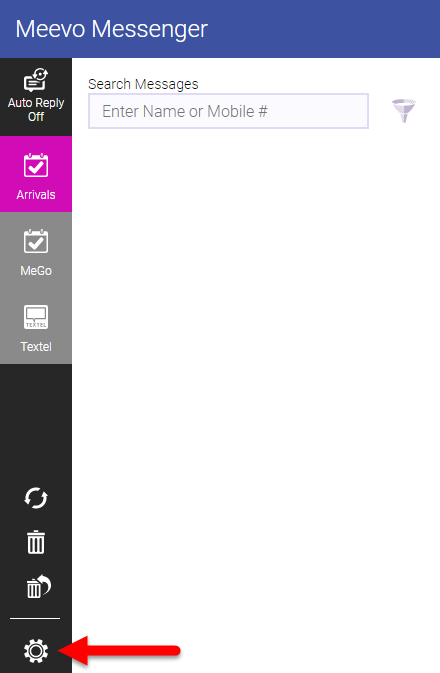
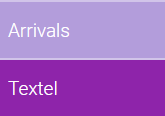
- In Meevo Messenger Settings, make sure you are on the Textel tab.
- Select Edit.
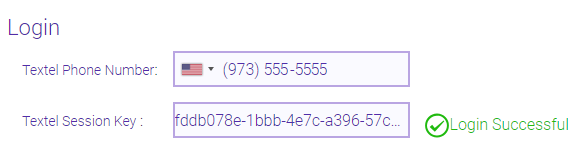
Important: DO NOT CHANGE the Textel Phone number (which is your SMS enabled business phone number) and DO NOT CHANGE the Textel Session Key.
- Under the Notifications section, select the employees who will be using the Textel integration. The employees you select here will be able to see incoming Meevo Messenger text message updates in real-time while working in Meevo; the Textel tab will pulse and display the number of conversations that contain new, unread messages.

Note: Go here for more information on the various ways that Meevo Messenger lets you know you have new messages.
Note: Employees who have access to the Textel integration but who are not added to this list will not see message updates in real-time; those employees must refresh the page to see any new messages. For ease-of-use, MSI recommends you add to this list every employee who may potentially use this integration.
- Select Save.
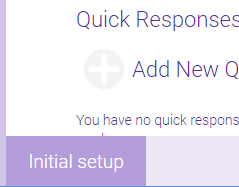
- The Initial Setup button appears in the corner of the Meevo Messenger. Select Initial Setup.
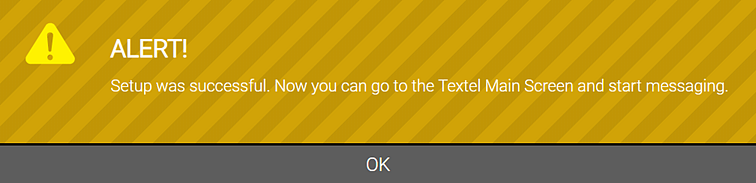
- After a couple of moments, a verification message appears. Select OK to clear the message.
- Now that you've completed initial setup, you can go back into Textel Settings and further customize your Textel integration.
Deleting your Textel account and canceling your Textel subscription
Select Delete Account at the bottom of the screen to delete your phone number, session key, and all message history. Deleted messages cannot be undeleted. To unsubscribe from Textel for Meevo, please email support@textel.net with your business information, text enabled line and request to cancel. Textel requires a 30 day notification of cancellation.