Creating an Ad Hoc (One-Off) Chart
Ad hoc charts are one-off charts tied to a specific visit date but not necessarily to an appointment. When creating an ad hoc chart, you select a visit date and an existing chart definition to associate with the client.
Tip: Ad hoc charts let you capture accurate clinical information using your own chart without requiring an associated appointment service on the book. They’re ideal for unique visits, special circumstances, or documentation of follow-up calls.
There are two slightly different ways to create an ad hoc chart, depending on what you’re doing in Meevo. Both methods produce the same result.
Note: Because an ad hoc chart is not associated with an appointment service, chart definitions containing a Product Usage Table cannot be used for ad hoc charting.
To create an ad hoc chart from the Charts list
Use this method to select any date—past, present, or future. This option is ideal when adding a chart to a day on which the client does not already have a chart.
- From the client profile, select the Charts tab.
- From the top of the screen, select Add New Chart.
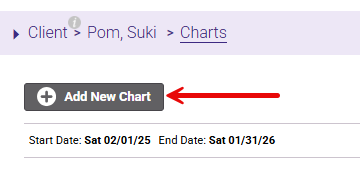
- In the Add New Chart window, enter a Visit Date using the date picker and select a pre-existing chart from the Select a Chart drop-down.
- Selecting today’s date is the same as creating an ad hoc chart for today, as described in the next section.
- You can also upload historical charts to a client's Chart history from this window. For complete instructions, see Uploading Pre-Existing Charts to a Client’s Chart History.
- Click Add. The form is loaded immediately, where you can edit the form as you normally would.
- When finished, the form will be nested below the appropriate group on that client's Charts tab.
To create an ad hoc chart while already viewing a chart
While viewing a chart from any date, you can easily add another chart to that visit date:
- From the client profile, select the Charts tab.
- Select an existing chart to view.
- While viewing the chart, select Add New Chart from the top of the screen.
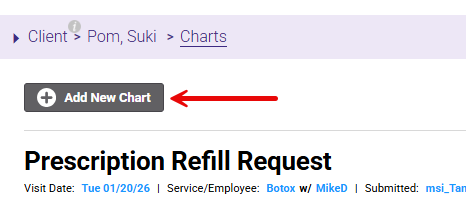
- In the Add New Chart window, select a pre-existing chart from the Select a Chart drop-down. Note that the Visit Date is read-only in this mode and cannot be changed, as the chart is locked to this visit date.
- Click Add. The form is loaded immediately, where you can edit the form as you normally would.
- When finished, the form will be nested below the appropriate group on that client's Charts tab.
To delete an ad hoc chart
Ad hoc charts in Draft status can be deleted:
- From the client profile's Charts tab or from Client Record Management, locate the chart.
- Select the ellipsis and then select Delete from the drop-down.