Installing and Setting Up a Pole or Price Display
Pole/price displays are USB devices that are known as "plug and play" in that they do not require any driver installation or changes to operating system settings. After connecting the cable to the receipt printer, the display is ready for use.
What information appears on the pole display?
Depending on the transaction, the following information may appear:
- Item sold and price
- Discounts
- Balance due upon sale
- Tender type and change due
Are there any Meevo settings related to pole displays?
Yes; when you enable your pole display in Meevo, you are also able to define the text that appears on the display.
To install a pole/price display
- Review the Supported Devices article to ensure that your display is supported by Meevo and is compatible with your receipt printer.
- Connect the USB cable from the display to a USB port on the back of your receipt printer.
- When finished connecting the display according to your manufacturer's instructions, make sure to set up the pole or price display in Meevo.
Setting up a pole/price display in Meevo
- Type poshardware into the Convobar, or go to Meevo > Register > POS Hardware.
- Select the Receipt Printer tab.
- Locate the receipt printer that is connected to your display. Below that printer are Pole Display Settings.
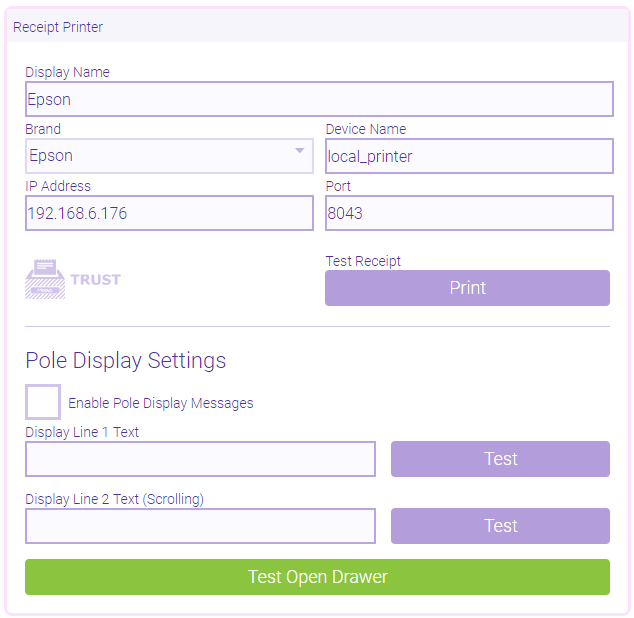
- Select Enable Pole Display Messages.
- If desired, enter Display Line 1 Text (the top line of text on the display) and Display Line 2 Text (the second line of scrolling text on the display).
- Select Test to verify your entered text appears on the display.