Installing the Ingenico iPP 320 (Worldpay or CardConnect)
Before you begin
- This device requires that you have a Merchant Account with Worldpay (formerly Vantiv) or CardConnect.
- Read our Meevo System Requirements and Supported Devices to ensure your computer and devices are compatible with Meevo.
- Ingenico iPP 320 documentation contains important information and details from the manufacturer that are not discussed in this topic. MSI recommends you read your device documentation before proceeding with the installation.
Installation steps at a glance
|
Step 1: Add Your Merchant Account in Meevo (separate topic) |
|
Step 2: Hook up the credit card terminal (this topic) |
|
Step 3: Activate or "pair" the credit card terminal with your Merchant Account in Meevo (separate topic) |
|
Step 4: Assign a default Merchant Account and credit card terminal to a drawer in Meevo (separate topic) |
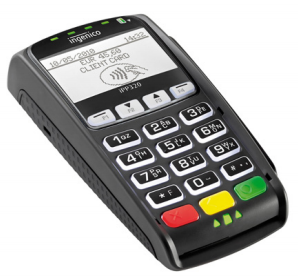
Hook up the credit card terminal
- Before connecting the credit card terminal, make sure you've added your Merchant Account in Meevo.
- Use the image below and the iPP 320 device documentation to familiarize yourself with the components.
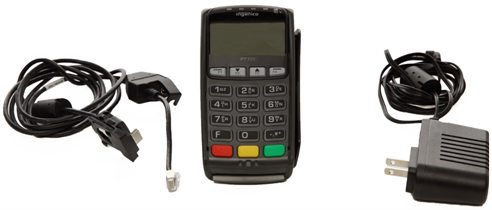
The components, from left to right, are:
- I/O communication cable for Ethernet connection (note that your cable may slightly differ from what is in this image)
- Ingenico iPP 320
- Power adapter
- Connect the I/O communication cable to the underside of the iPP 320.
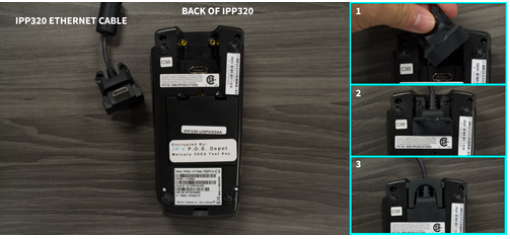
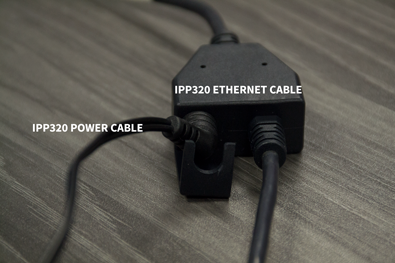
- Connect the power adapter to the I/O communication cable.
Your communication/Ethernet cable may appear different from the image below; the cable for new IPP320s is a Y-cable with a port for your power adapter. In either case, connect the two cables.
- Complete installation according to your Merchant Account processor:
- To connect the device to the internet, plug the Ethernet cable end of the I/O communication cable into an Ethernet port that is connected to your network.
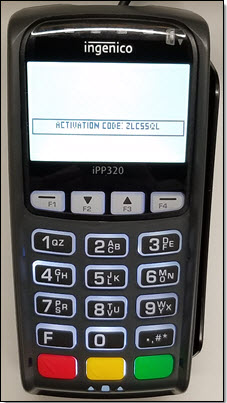
- Plug the power adapter plug into a power outlet or surge protector. The iPP 320 displays a couple of boot-up screens, and then ultimately displays an Activation Code:
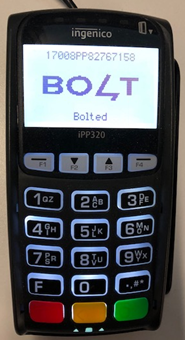
- Plug the power adapter plug into a power outlet or surge protector. The device begins its boot process. After several minutes, the iPP 320 displays a BOLT screen and serial number. The device serial number appears across the top, and across the bottom of the screen you will see Unbolted. This means that the device is not receiving a network connection yet.
- To connect the device to the internet, plug the Ethernet cable end of the I/O communication cable into an Ethernet port that is connected to your network.
- Give the device some time to establish a connection. When the bottom of the screen reads Bolted, this indicates a successful connection to your network and the internet.
- Now that your device is hooked up, the next step is to activate or "pair" the credit card terminal with your Merchant Account in Meevo.