Cancellation Reasons
A Cancellation Reason captures reportable details about why an appointment was canceled, helping you to accurately track cancellation trends. You can also configure cancellation reasons to apply a cancellation fee for appointments that are canceled without sufficient notice.
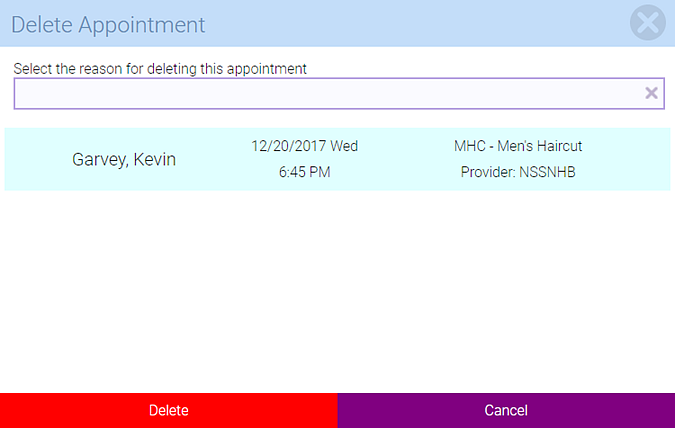
You must select a Cancellation Reason when deleting (canceling) an appointment in Meevo.
Can employees receive commission on a canceled appointment?
Yes, an employee can receive commission on the cancellation fee according to the employee's service commission settings. Price adjustments from Cancellation/No-Show Fees are always honored in commission calculations, even if Full Commission is enabled.
Adding a Cancellation Reason
Tip: If creating several records that have similar details, select Copy to create a new record with fields identical to the one you just copied. This can save you a lot of time when creating data in Meevo. Note Central Office cannot copy items that are owned by a location.
- To get to Cancellation Reasons, type cancellationreasons into the Convobar, or go to Meevo > Appointments > Cancellation Reasons.
- From the Cancellation Reasons search form, select Add New.
- Display Name: Enter a name that will make this item easy to identify in lists or menus in Meevo.
- Cancellation Fee Amount: The fee, if any, for canceled appointments. A value of zero (0) means that a client will not be charged for this Cancellation Reason.
- Apply fee to each Add-On: When enabled, the client will be charged a Cancellation Fee for each add-on in the canceled appointment.
- Include in Online Booking Cancellation Reasons: Makes this Cancellation Reason available to clients that cancel an appointment through Online Booking or the MeGo client app.
- When finished, select Save.
Editing a Cancellation Reason
Note: Some fields on the form may not be editable if the current location is not the item's Home Location.
Note: Once an item is saved with a Business Type selected and the item is made available to locations, then the Business type cannot be changed to anything other than All Business Types.
- Locate the Cancellation Reason and select it.
- Select Edit, and make your changes.
- When finished, select Save.
Inactivating or reactivating a Cancellation Reason
When you inactivate a Cancellation Reason:
- Appointments already canceled with this Cancellation Reason remain unchanged in the Appointment Book.
- It is no longer selectable from any forms or menus in Meevo.
- It can still appear in Meevo reports.
- It does not appear in Meevo search results unless Inactive is selected from the Advanced menu.
- If you inactivated the item in Central Office, the item becomes inactive in associated locations as well.
- Remember that only the owner (as determined by the Owned By field) of the item can inactivate or reactivate it.
To inactivate or reactivate:
- Locate the Cancellation Reason and select it.
- Select Edit.
- Select the switch to toggle it to Active or Inactive.


- Select Save.
Deleting or undeleting a Cancellation Reason
When you delete a Cancellation Reason:
- Appointments already canceled with this Cancellation Reason remain unchanged in the Appointment Book.
- It is no longer selectable from any Meevo forms or menus.
- It does not appear in Meevo search results unless Deleted is selected from the Advanced menu.
- It may still appear in Meevo reports depending on the report setup criteria.
- If you deleted the item in Central Office, the item becomes deleted in associated locations as well.
- Remember that only the owner (as determined by the Owned By field) of the item can delete or undelete it.
Note:To delete or undelete this item, the current location must be its Home Location.
To delete or undelete:
- Locate the Cancellation Reason and select it.
- Select Delete or Undelete.
- If deleting, a confirmation message appears. Select Yes to complete the deletion.
- If undeleting, the form becomes active after you select Undelete. Select Save to finish undeleting.