Creating a Form with Form Designer
This topic explains how to use the Form Designer, a feature available through the Client Intake Forms and Docs & Forms Business Boosters.
Form Designer is an easy drag-and-drop interface that anyone can use to create new forms and customize templates, without the need to hire a forms developer! Even if you chose to Customize a Template in Form Builder, you'll end up here in Form Designer to make your edits.
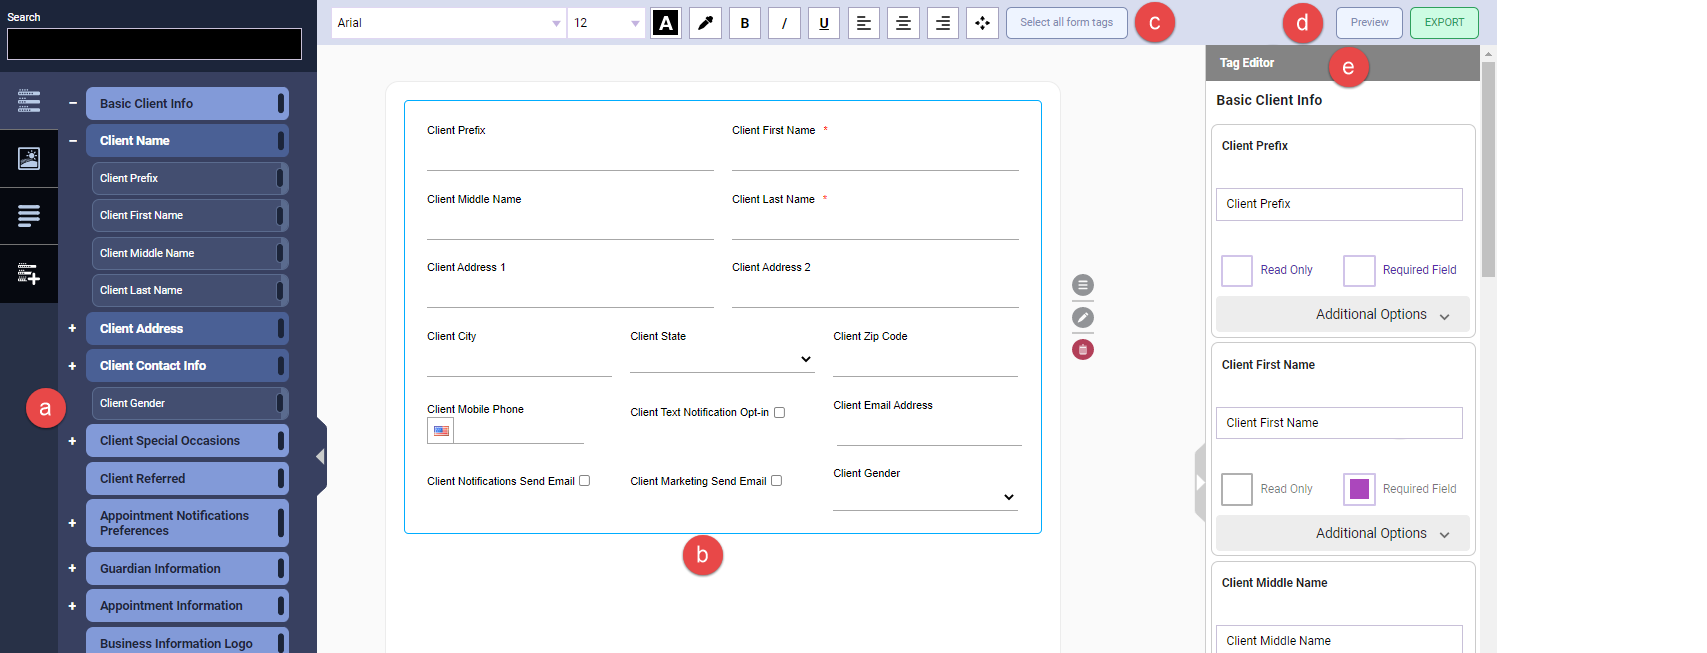
- The left column slideout is where you can view and add various elements to the form, such as tags and images. Elements can be added by double-clicking the tag or dragging-and-dropping the tag. Double-clicking or dragging the "parent" tag will add all of its sub-tags to the form.
- The workspace is where you can view the form as it's being built. You can reorder, edit, or delete components here.
- Use this toolbar to customize all tags within the selected group. Note that in addition to changing the font, font size, color, and alignment, you can also edit the padding and margins.
- Here is where you can export the form's HTML or Preview the form as it would appear on various devices.
- The Tag Editor is where you can change the look of individual tags in the form. Note that you can achieve much of the same edits using the edit toolbar above the workspace.
Important: Meevo is a HIPAA-compliant platform. If you are collecting client data, it is your responsibility to use this platform according to HIPAA regulations.
Note: To avoid issues with the form's usability, do not include any external links, and do not apply custom styling. Use Meevo's provided styles instead. Including either of these elements in a form can cause undesired results.
The Left Column Slideout
System Tags
System Tags are a way for the client to enter new or updated information in the form. System Tags are also used to customize the form to the client, as they are automatically populated with the client's appointment, service, address, etc. if that data is available in Meevo.
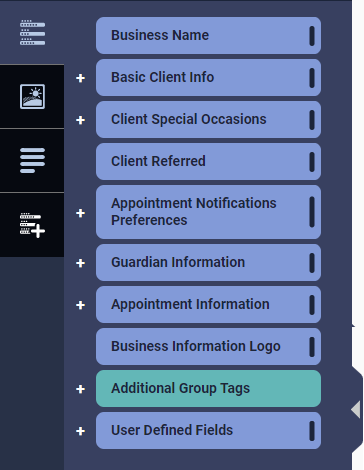
System Tags for Appointment and Client Forms
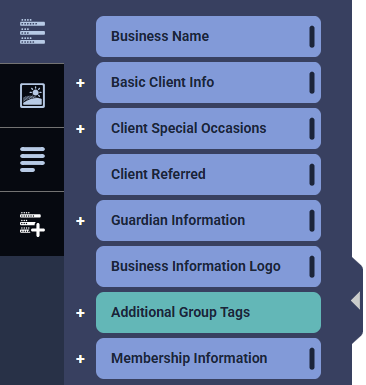
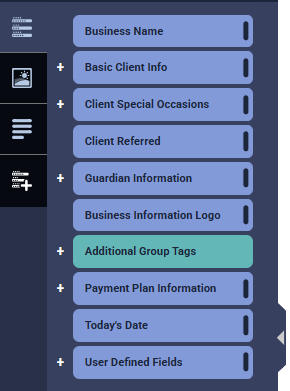
System Tags for Membership Forms (left) and Payment Plan Forms (right)
Below are some important things to know about System Tags:
Creating a form
- Double-click or drag-and-drop a tag from the left column to add it to the workspace. Tags can be placed on the same line; some tags may need their Block Width (under Additional Options) reduced to fit other tags on the same line.
- Select Required to make that field required when the form is being filled out; a user will be unable to submit the form until all required fields on the form are completed.
- If Read Only is selected in the Tag Editor, the field will not be editable in the form and can be used in the form as many times as desired.
- System Tags that are editable (not read-only) can only be used one time per form.
- Today's Date is a read-only field that auto-populates the current date whenever an unsubmitted form is opened. Unlike the standard "Date" Custom Form Field (CFF), this tag is not editable to ensure accurate record keeping. We recommend using this tag alongside signature fields to ensure compliance and to protect your business from potential disputes.
- The Business Info Logo tag pulls in the logo you uploaded in the Business Information > Main tab. If the location does not have an uploaded logo, then Meevo will use the logo that was uploaded in Central Office.
- For multi-locations that may inherit a template from Central Office, the Business Name tag will honor each individual location’s Business Information Name field.
- If you are using Client Intake Forms, see Loading the Default Intake Form for details on the System Default Template tag.
Clients filling out a form
- Not all System Tags are editable in the form. Generally, for Client/Appointment forms, if the field is editable in Meevo, then the tag will be editable in the form as well. For example, if a client completes/edits a System Tag (like Client First Name) in the form and submits it, this will be reflected in the client's Meevo profile.
- Tags that are not editable will simply pull in the relevant information into the form. Some tags are editable in Client/Appointment Forms but read-only in Membership and Payment Plan Forms.
Images
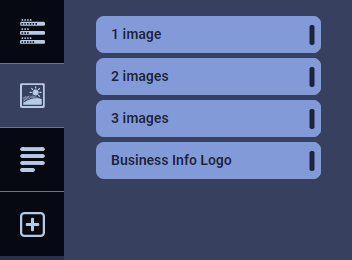
- You can add one image or a row of two or three images to the form. Images must be larger than 1x1 pixels, cannot be greater than 5MB in size, and must be a .jpg, .png, .gif, or .jpeg.
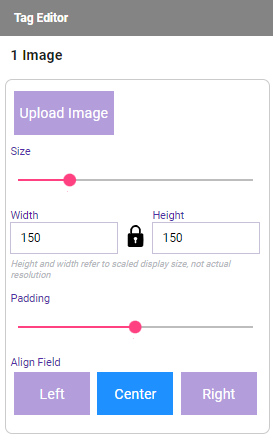
- To upload an image, select edit in the image tag to reveal the Tag Editor. Select Additional Options from the Tag Editor and then select Upload Image. You can also change the image label here.
- The Video Link tag prompts you to provide a video URL. The video will be embedded directly into the form, and clients can watch the video while completing or submitting the form. When the form is generated into a PDF, the URL to the video will be displayed where the tag was inserted.
- The Business Info Logo tag pulls in the logo you uploaded in the Business Information > Main tab. If the location does not have an uploaded logo, then Meevo will use the logo that was uploaded in Central Office.
Copy/Text

The Copy/Text elements are where you can add headers, labels, and paragraphs to your form. Basically, these are like text boxes that you can add to the form to provide information not covered in System Tags.
- Use the Header to add a heading or new section to the form.
- Use Label to add a text string.
- Use Paragraph to add a block of text.
- Use the Divider to add a horizontal dividing line to illustrate that sections are separate from one another.
- Use Section Collapse to create a collapse/expand section on the form. All tags within the blue outline will be included in the collapsible/expandable section.
Custom Form Fields (Docs & Forms Only)
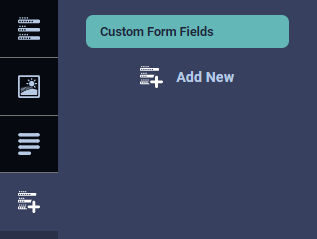
Custom Form Fields are fields that you can create while building the form.
To create a Custom Form Field, select Add New to open the Add New Field window. Then, refer to Adding a User Defined Field for step-by-step guidance on filling out these fields, and note the following:
- Once data has been collected against a Custom Form Field (for example, a client fills out the field and submits the form), the Custom Form Field cannot be deleted.
- In Docs & Forms, there are additional Field Types not available in standard UDFs: Signature, Signature (Initials Only), and Markup/Annotation. The signature fields allow a client to sign digitally using a mouse or touch screen, while the markup field allows a client to "mark-up" an image (for example, for a medspa client form).
Note: Do not change the size of signature field types. If you change the aspect ratio or "stretch" the signature fields types, this can cause issues with how client signatures appear on the form.
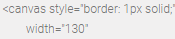
Note: To resize the markup/annotation image, you'll need to use the canvas tags in the form that appear after enabling the markup field.
- UDF Field Types Document Upload and Image Upload are not available in Form Builder.
Copying a Custom Form Field
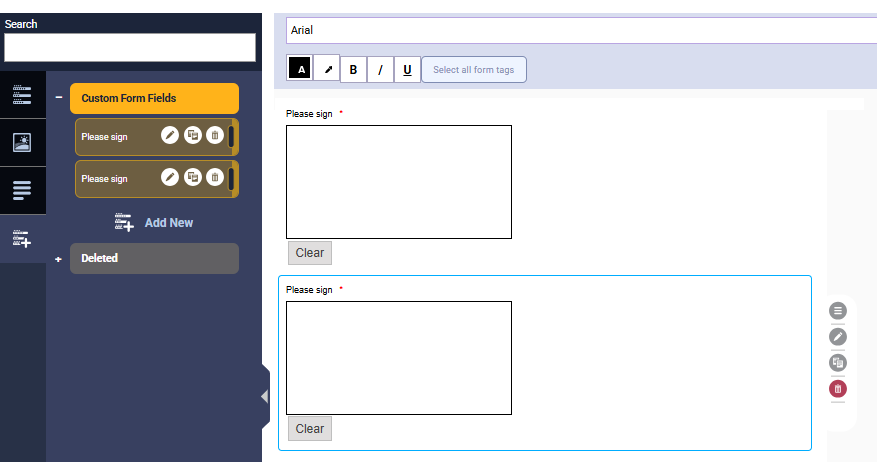
You can copy any Custom Form Field as many times as needed, allowing you to capture multiple signatures, repeat date entries, or other recurring pieces of information within the same form.
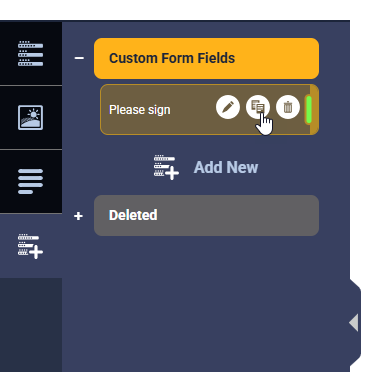
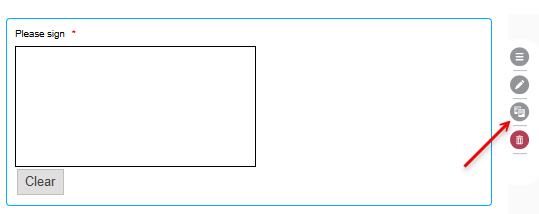
- To duplicate a field, click the Copy icon next to the form field that you want to reuse. The icon can be found beside the field within the Custom Form Fields tab (below, left) and beside the field itself within Form Designer (below, right).
- In the Copy Field modal, give the new field a unique name and make any other adjustments as needed.
- Once saved, the duplicated field is added to your list of available Custom Form Fields.
- If you copied the field from within the form, the new field is automatically placed below the copied field.
- If you copied the field from the left sidebar, you must manually add the new field to the form.
The Workspace
The workspace helps you to visualize how the form will appear to clients. You can edit the styles of tags from here or by using Tag Editor.
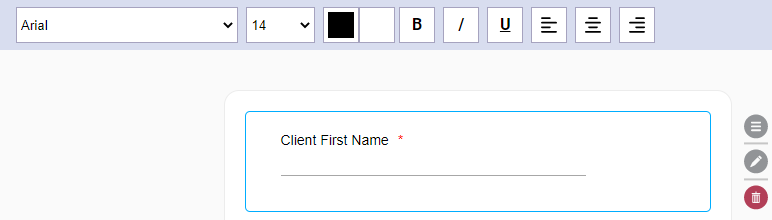
- The toolbar at the top of the page provides style tools you can use to modify the text.
- The three icons to the right of the tag are:
 Select and hold this icon to drag the tag to another spot in the workspace.
 Select this to open the Tag Editor, where you can further customize the tag and mark is as Read Only or Required.
 Select this to remove the tag from the workspace. This also deletes any styles you applied to the tag.
Tag Editor
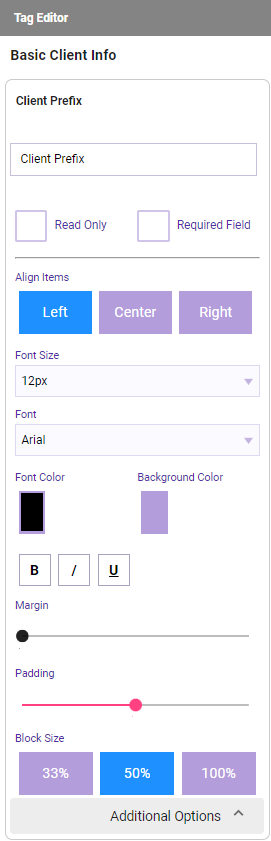
- Use Tag Editor to mark a tag as Read Only or Required.
- Select Additional Options to customize the style of the tag, just as you can using the workspace toolbar.
To Export the Form
Select Export in the top-right corner to automatically export and locally download an .htm file of your form.
To Preview the Form
Select Preview in the top-right corner to enter Preview Mode. Here, you can see what your form will look like on various devices, and you can even view the form in a custom width/height.

When Finished Creating the Form
When finished, select Save. If you have not yet done so, go back to the Main tab and activate this form to being using it.