Step 1: Sync Business Information
Don't forget to review the Getting Started Checklist before you begin!
To start, you will go into Online Presence Settings and perform a couple of steps that ensure your business information is listed accurately and consistently online. You do this by syncing your Meevo Business Information to Local SEO Profile Settings.
Reminder: Before moving on, make sure your Business Information is up-to-date in Meevo.
What business information syncs to the Knowledge Graph?
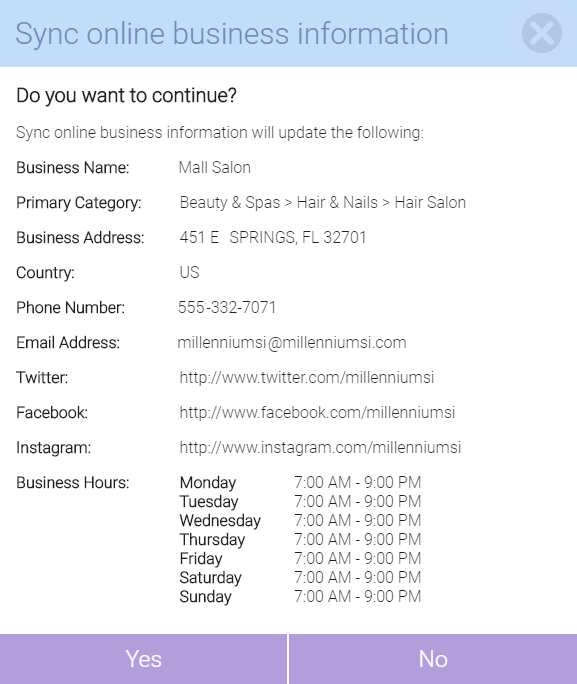
When you sync, you are sending the following Meevo Business Information details to corresponding fields in Knowledge Graph: the business Name, all Address fields (including Country), Phone Number, Email Address, Facebook URL, Instagram URL, Twitter URL, and Business Hours. The Business Primary Category also syncs over, but that data comes from what is selected in the drop-down in Online Presence Settings.
Is this the only sync I'll need to do?
After the initial sync, the only time you should have to perform a sync again is if you change any of the Meevo Business Information fields that sync to the Knowledge Graph. If you do change any of those fields in Business Information, syncing again will ensure that those updates are also made in Knowledge Graph. You can review Updating the Knowledge Graph for details.
You should also sync again if you change your Primary Category, but changing the Primary Category after initial setup is not recommended.
How do I choose the right category for my business?
The Primary Category should be the broadest classification of your business. The category you select should complete the statement "This business IS ___" rather than "This business offers ___." We highly recommend reading Google's policy on category selection, which you can find in their local business guidelines.
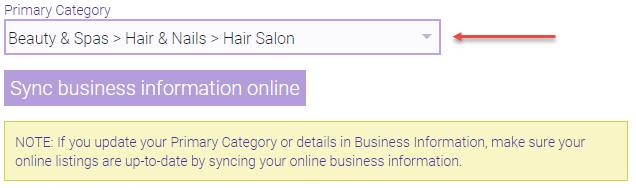
When you first access this screen, the Primary Category is automatically set to Beauty & Spas > Hair & Nails > Hair Salon. If the default category is not reflective of your business, you should change this prior to the initial sync.
Later, during Step 3 of setup, you will be able to add additional "secondary" categories to supplement your business's Primary Category. So, if you cannot find a Primary Category that perfectly matches your business, you can select the next closest category now with the knowledge that you will be able to add additional categories a little later.
Important: Your business's Primary Category plays an important role in ensuring publishers know how to index your business properly. Once the category has been established ‒ that is, once your listings are live across all digital publishers ‒ it is not recommended that you change this category. This is explained further in Adding or Changing Business Categories.
To sync online business information
- Go to Marketing > Online Presence Settings or type onlinepresencesettings into the Convobar.
- Confirm your business's Primary Category. If this is your first time in this screen, the Primary Category automatically defaults to Beauty & Spas > Hair & Nails > Hair Salon. You should change this category if it does not describe your business. Use the typeahead field in the drop-down to begin typing the category that best describes your offerings, and select an appropriate category.
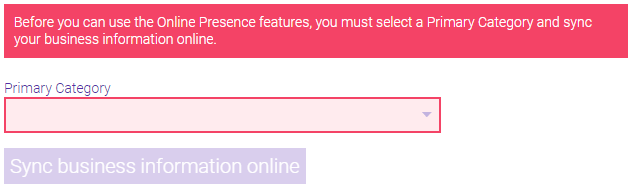
Note: Some businesses may see an empty Primary Category with a red message on the page, as shown below. If you see this message, simply select a Primary Category and proceed with the rest of the steps.
- When ready, select Sync online business information. A pop-up window appears with your current business information. Select Yes to proceed if the details are correct. If the details are incorrect, update the details in Business Information, and then repeat this step.
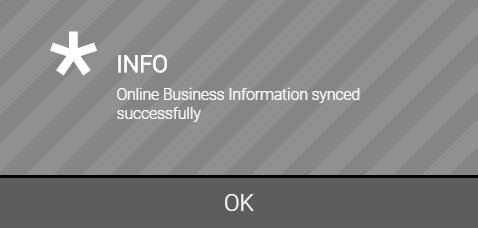
- After the sync, you will see a message indicating that Online Business Information was synced successfully. If the message indicates that the sync was not successful for any reason, contact MSI Business Support at (973) 402-8801.
- After a successful sync, the Last sync details appear beside the sync button.

- Continue on to Step 2: Link Facebook and Google Business Profile for the first time.