Location Groups
To get to Location Groups, type locationgroups into the Convobar, or go to Meevo > Data > Location Groups.
Location Groups are a collection of locations that businesses typically group by region and/or Business Type. A business can assign Security Roles by Location Group, granting employees multi-location access without having to add individual locations to each employee's profile and define a Security Role for each.
How do I use Location Groups?
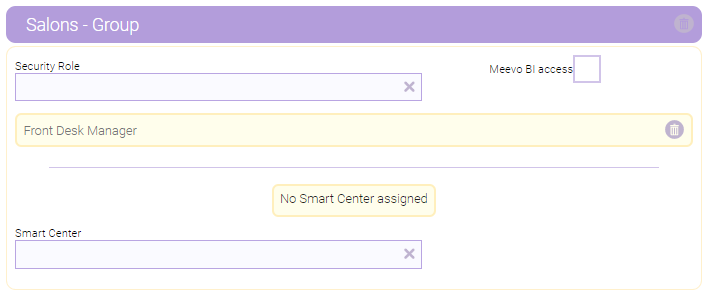
In the Security tab of an employee profile, you can assign one or more Location Groups and define a Security Role for each group. The Security Role determines the access level the user has to all locations in the group.
In addition, a Location Group can be used to define the scope of a tile in Smart Center Designer.
How to do I assign a role in a Location Group?
To be able to assign a user a security role in a Location Group, you must meet one of these two conditions:
- You are a Full Access User in Central Office.
- Your Meevo user profile has access to that Location Group. Your security role in the Location Group determines which roles you can assign (according to Role can be assigned by) in Security Roles definitions).
Adding a Location Group
- From the Location Groups search form, select Add New.
- Display Name: Enter a name that will make this item easy to identify in lists or menus in Meevo.
- Business Type: Select one if you configured Business Types.
Note: Business Type cannot be edited once a Location Group is saved.
- Available Locations and Selected Locations: Create your Location Groups by selecting a location and using the arrows to move the location to the Selected Locations box. You can use the filter to refine the list.
- When finished, select Save.
Editing a Location Group
Note: Business Type cannot be edited once a Location Group is saved.
- Locate the Location Group and select it.
- Select Edit, and make your changes.
- When finished, select Save.
Inactivating or reactivating a Location Group
When you inactivate a Location Group:
- Existing features that leverage this Location Group remain unchanged.
- It is no longer selectable from any forms or menus in Meevo.
- It can still appear in Meevo reports.
- It does not appear in Meevo search results unless Inactive is selected from the Advanced menu.
- If you inactivated the item in Central Office, the item becomes inactive in associated locations as well.
- Remember that only the owner (as determined by the Owned By field) of the item can inactivate or reactivate it.
To inactivate or reactivate a Location Group:
- Locate the Location Group and select it.
- Select Edit.
- Select the switch to toggle it to Active or Inactive.


- Select Save.
Deleting or undeleting a Location Group
When you delete a Location Group:
- Existing features that leverage this Location Group remain unchanged.
- It is no longer selectable from any Meevo forms or menus.
- It does not appear in Meevo search results unless Deleted is selected from the Advanced menu.
- It may still appear in Meevo reports depending on the report setup criteria.
- If you deleted the item in Central Office, the item becomes deleted in associated locations as well.
- Remember that only the owner (as determined by the Owned By field) of the item can delete or undelete it.
To delete or undelete a Location Group:
- Locate the Location Group and select it.
- Select Delete or Undelete.
- If deleting, a confirmation message appears. Select Yes to complete the deletion.
- If undeleting, the form becomes active after you select Undelete. Select Save to finish undeleting.